Adventures in Sherwood Forest
  • Blog
  • Recipes
  • About

Making Recycled Paper

5/14/2019

0 Comments

 
Picture
I was organizing my craft closet one day when I came across a paper making kit that my mom and I used to make paper MANY (I won't tell you how many) years ago. I thought this would be a great project for my Daisies to earn their Use Resources Wisely badge! 

There was only one frame in my kit and I have eight girls, so I asked on our local Buy Nothing Facebook page for frames and window screen. I didn't get any hits, but one person did suggest asking a hardware store to see if they had any torn screen that they were throwing away. Then I went to the Goodwill to look for frames and about had a heart attack when I saw their prices. So I went to the Dollar Tree all disappointed because I had to buy them new and the whole point was to reuse and recycle. Well, they had a bunch of document frames with broken glass, so I asked if I could get a discount on them, and she gave them to me for a quarter each. When I thanked her profusely, she said, “No, thank you, I would have just had to throw them away.” Score! Saving the planet! THEN I went to Home Depot and asked if they had any window screening they were going to throw away, and the guy pulled out a roll that he keeps around for odd things and told me to cut as much as I needed. Then I went home and made a mess out of my kitchen because the last time I had made paper was 38 years ago. (Did I say that out loud?)
Instructions
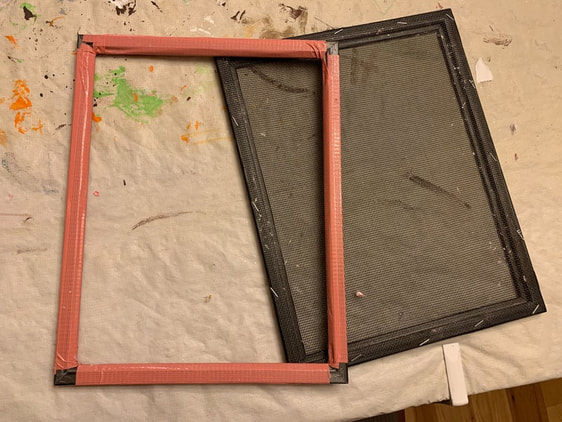
To prepare your screen frame, take the glass out and use pliers to pull out any metal bendy things that hold the photo and glass in the frame. Also remove any hanging hardware. Using a staple gun, staple the screen to the back of the frame, stretching it tight. 

If you have enough frames, it's handy to use a second frame on top to catch any pulp that might want to slide off the side of the screen. The frame had kind of a channel running through the sides, so I covered it with duct tape so pulp wouldn't get stuck in there.
Picture
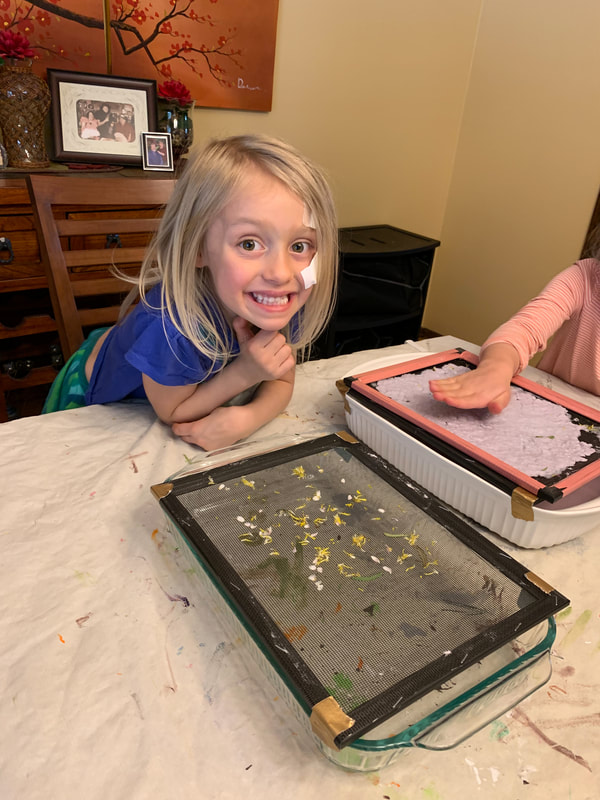
Place the open frame on top of the screen frame (they should be back to back and nicely flat against each other.) Place both of them on top of a casserole dish and tape them down so they don't move around. 

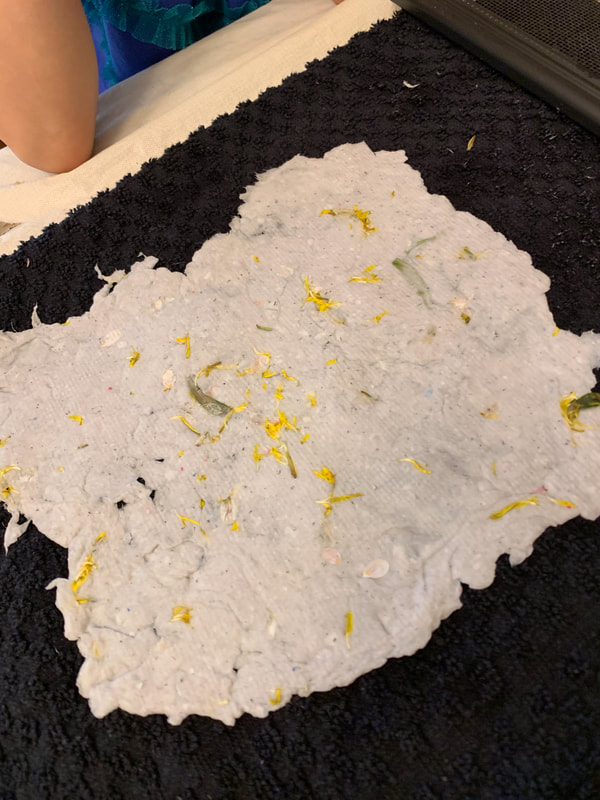
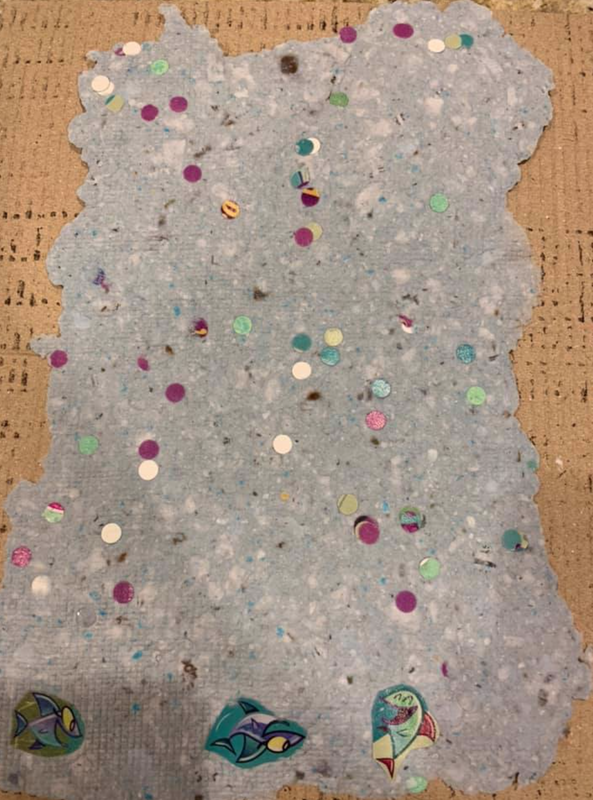
Now is the time to add any decorative bits to the screen, before you pour the pulp on. We used dried flower petals and confetti that I hole-punched from a colorful catalog.
Picture
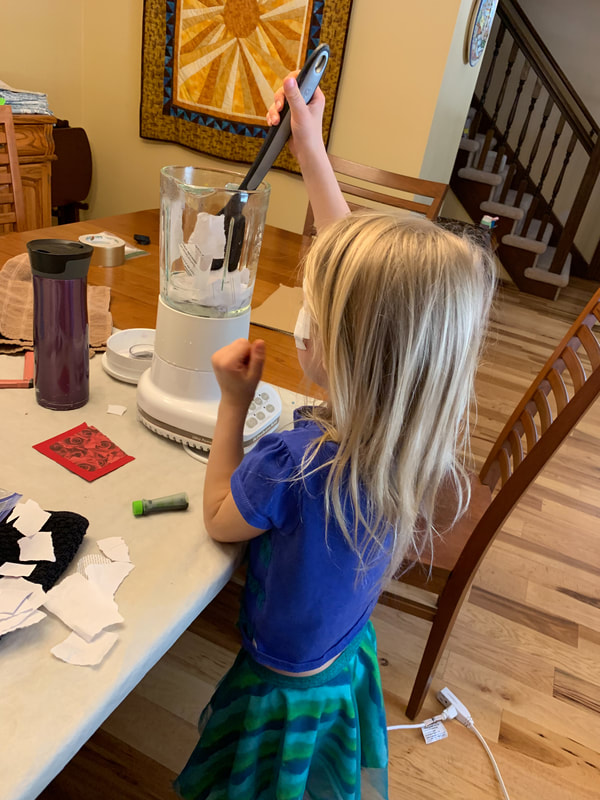
To make the pulp, tear up some paper that would have ended up in your recycle bin. Paper with photographs from magazines and catalogs will make a light brown (kraft colored) paper. I saved as much white paper as I could like bills and other mail. I read somewhere that you will need 3 times as much paper as the size of your frame. So if you are using an 8x10 frame, you will need the equivalent of 3 pieces of torn up paper. I didn't measure, I just had a bowl of torn up paper and had the girls grab three handfuls of paper.
Picture
Put the paper in the blender and fill it half-full with water. Blend it up till it looks like really soppy oatmeal. Now you can add any food coloring you like. You can also make a paper with colored chunks in it by adding some colored paper scraps and just blending it a little bit so it gets broken up but not completely mixed in with the pulp.
Picture
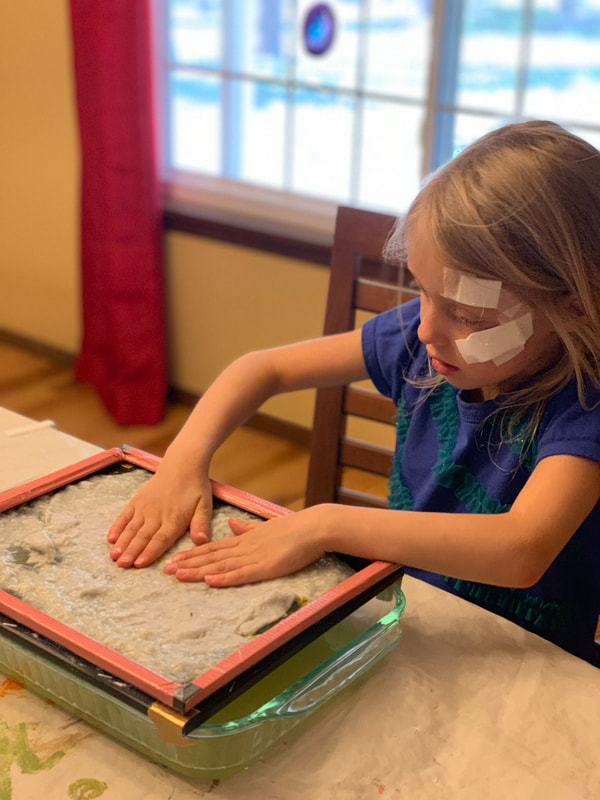
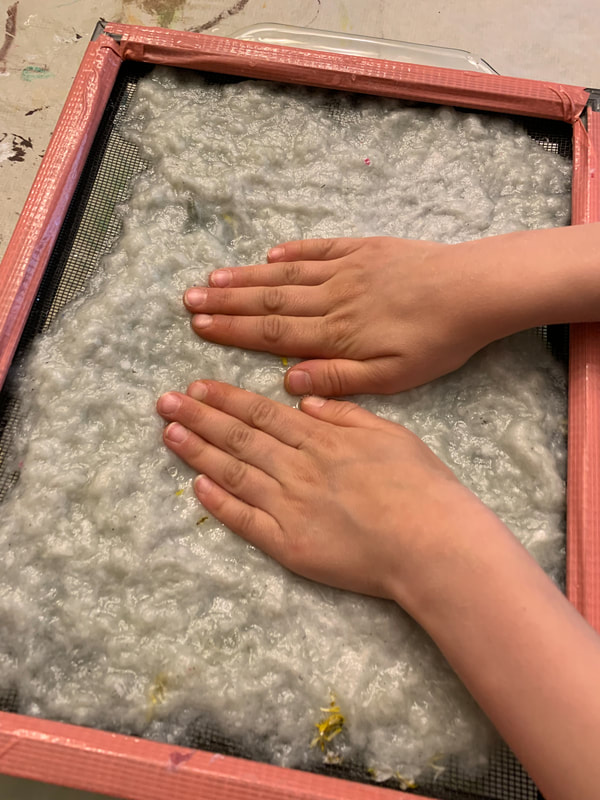
Carefully pour the pulp onto the frame, letting the water drain through into the casserole dish. Press carefully with your hands to get as much water out as you can. You have to be careful because the pulp tends to stick to the hands and you can pull it up when you lift your hands up. It helps to lift the tips of your fingers first and then slowly the rest of your hand a little at a time. If you get a hole in it, just push the pulp around to fill it. If it's hard to do that because you've pressed the water out of it, just pour more water on it and move it around and then press it out again.
Picture
Once you have most of the water pressed out, take the tape off that's holding the frame to the casserole dish and remove the top frame. Place a dish towel folded in half on top of the pulp and then place a piece of cardboard on top of that. Holding all of it sandwiched together, carefully flip it over so the cardboard is on the bottom.
Picture
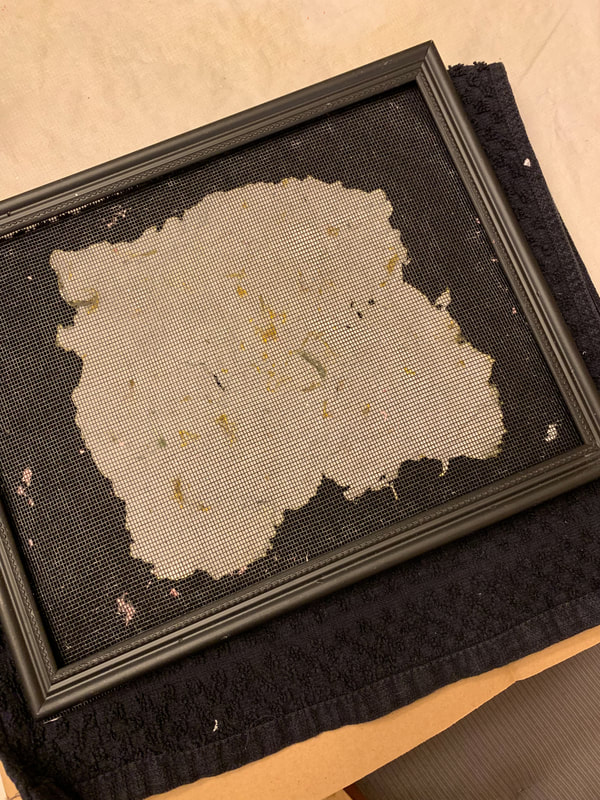
Leaving the screen on, use your hands to press more of the water out into the towel. Still leaving the screen on, flip it all back over, remove the cardboard and then carefully remove the towel. Place the cardboard back on, flip it back over again, and remove the screen. Then leave the paper to dry on the cardboard for a couple days. The end result will be very stiff paper. We like to use it to make book covers.

Here are a couple of our finished products:
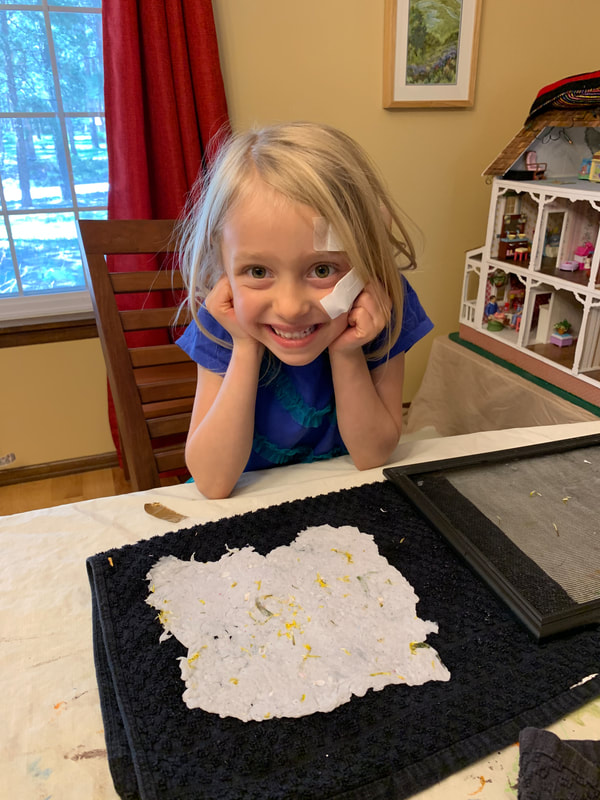
Flower Petals:
Picture
Hole punch confetti:
Picture
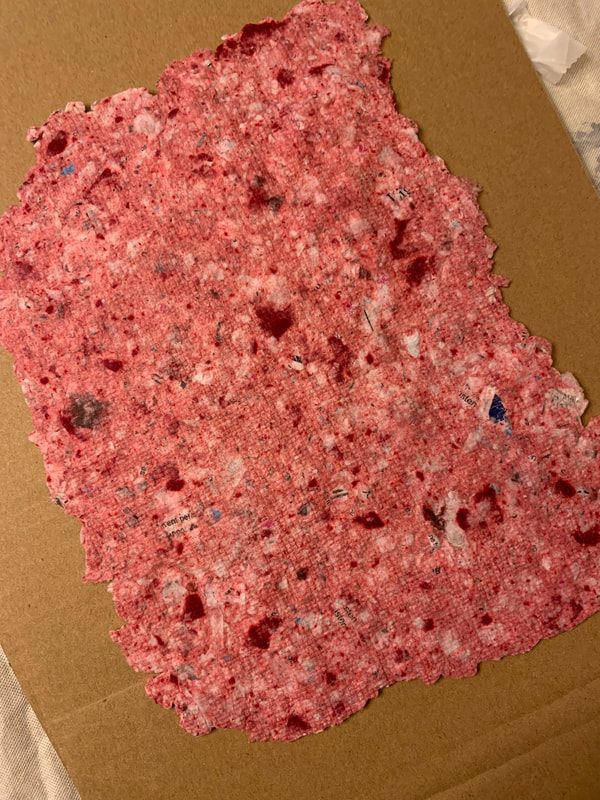
This one started with white paper and then one of the girls threw in a 4x6 scrap of red cardstock that had some red rose patterned paper glued to it. I pulsed it only a couple times so it was pretty chunky, but I think it's really pretty. You can actually still see some of words from the bills I used, part of my name is on it. ​😂
Picture
0 Comments

Your comment will be posted after it is approved.


Leave a Reply.

    Archives

    May 2019
    April 2019
    March 2017
    July 2016
    June 2016
    May 2016
    March 2016
    November 2015
    July 2015
    May 2015
    April 2015
    March 2015
    February 2015
    January 2015
    December 2014
    August 2014
    July 2014
    March 2014
    February 2014
    January 2014
    December 2013
    September 2013
    August 2013
    July 2013
    June 2013
    May 2013
    April 2013
    March 2013
    February 2013
    December 2012
    November 2012

    Categories

    All
    Baby On Board
    Baby On Board
    Crafts
    Decorated Cookies
    Food Appetizers
    Food Desserts
    Food Main Dishes
    Kids
    Scrapbooking

    Picture
    Check out the cool stuff I've been Pinning lately...
    Contact Me!

    Enter your email address:

    Delivered by FeedBurner

    RSS Feed

Powered by Create your own unique website with customizable templates.