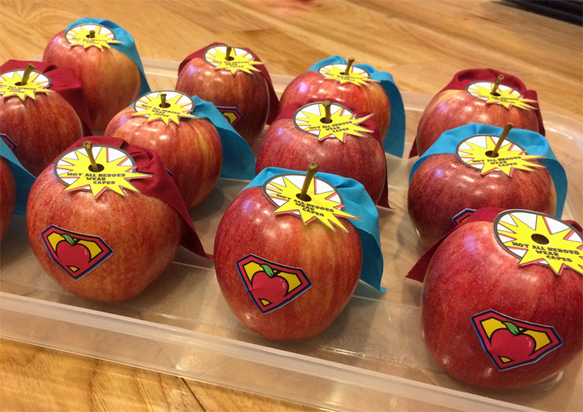
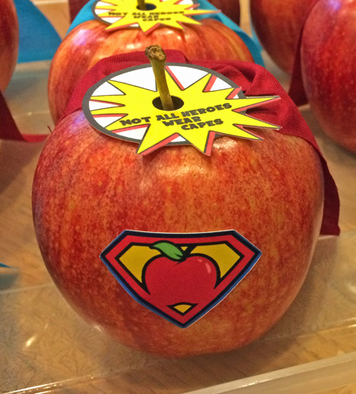
I couldn't resist another chance to use my Silhouette, so I made these cute little superhero apples, one for each teacher in the school. I used Silhouette printable sticker paper for the shields and plain card stock with double-sided tape for the top label.
|
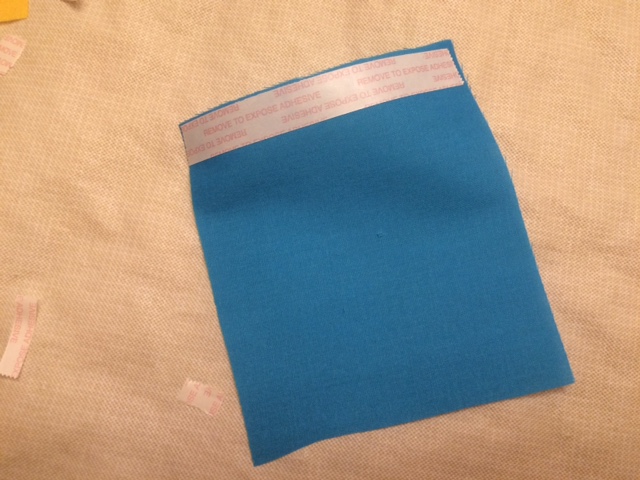
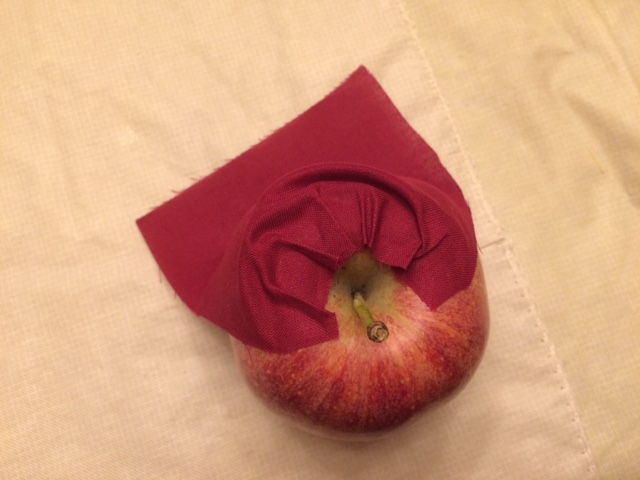
Teacher Appreciation Week is coming up next week and Claire's school is doing a superhero theme! ZAP! POW! Okay, I'm done. hehe I couldn't resist another chance to use my Silhouette, so I made these cute little superhero apples, one for each teacher in the school. I used Silhouette printable sticker paper for the shields and plain card stock with double-sided tape for the top label. For the capes, I used some material from my fabric stash and cut pieces about 4x4 inches. (The piece shown in the photo is a little longer, but I ended up trimming it after I put it on the apple because it was too long.) I put a strip of double-sided tape along the top of each and then attached it to the apple, gathering it as I went. Originally I had yellow capes, too, but the tape didn't stick at all to the yellow material. I can only guess that maybe it was polyester and not cotton? Thread the apple stem through the hole in the label and attach the label to cover up the gathered section of the cape. Remember, an apple a day keeps evil villains away! And here are the .png files if you would like to make your own crime-fighting produce. Enjoy!
2 Comments
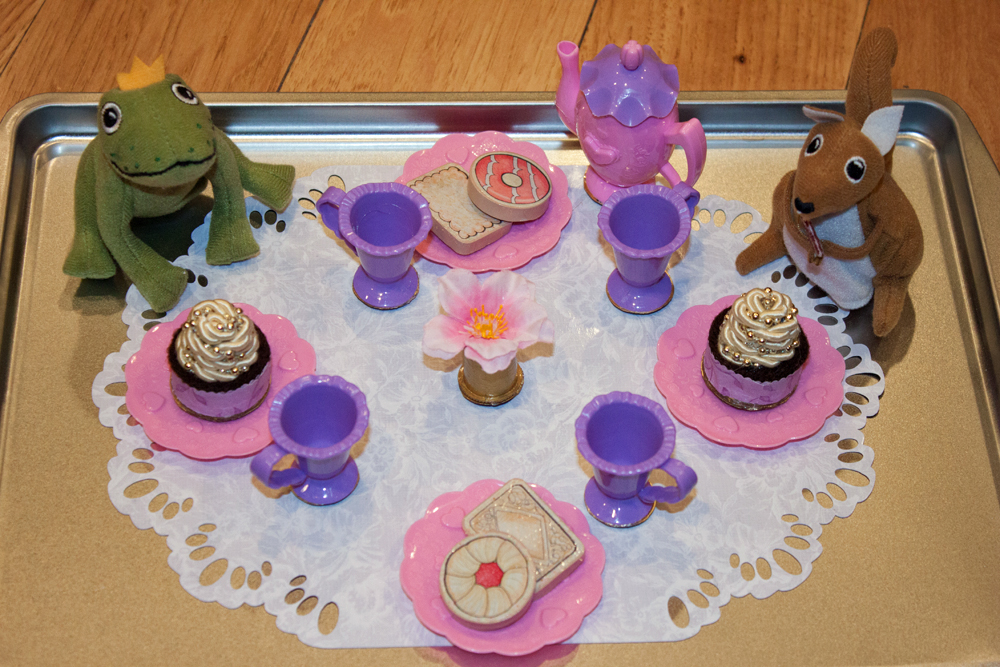
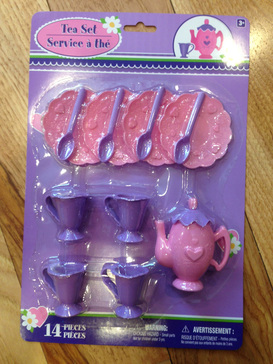
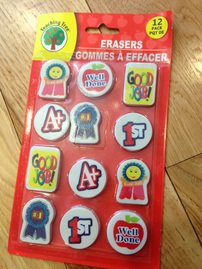
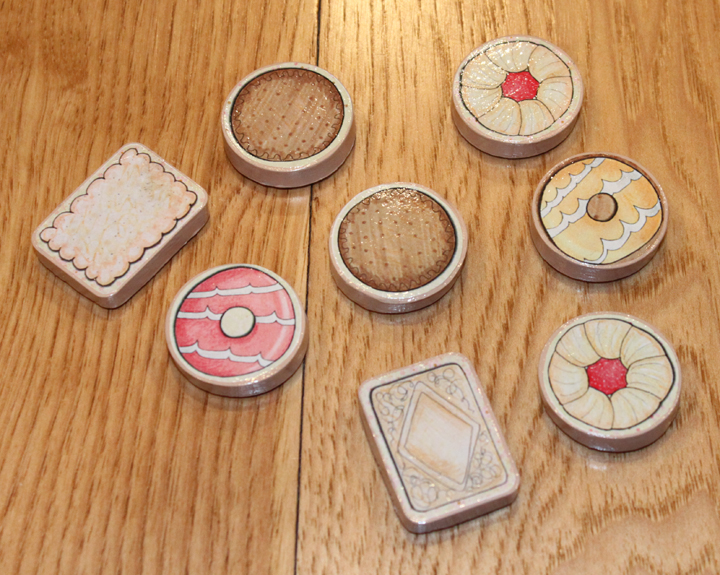
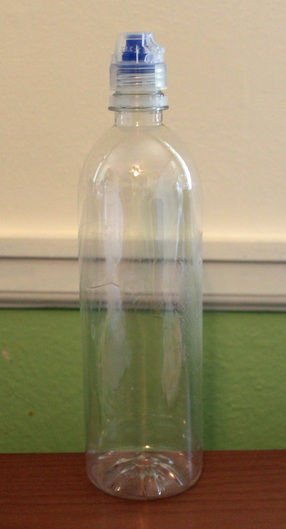
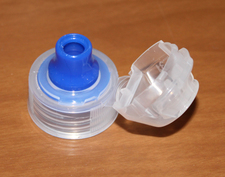
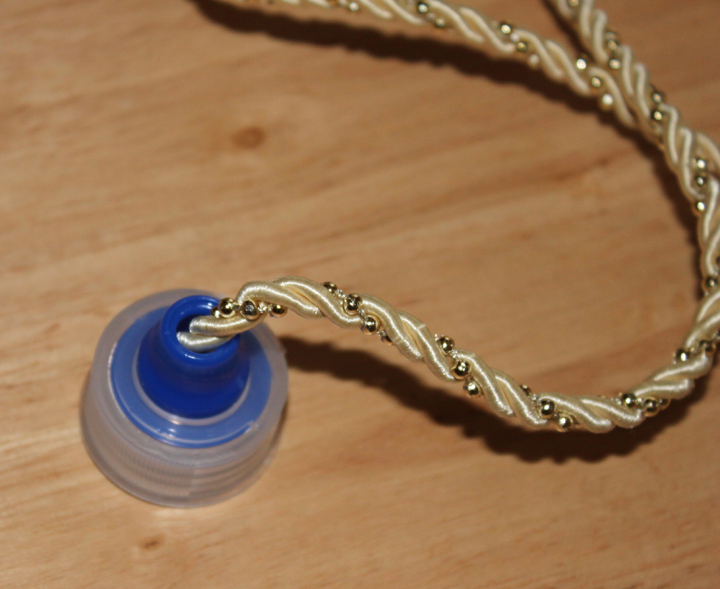
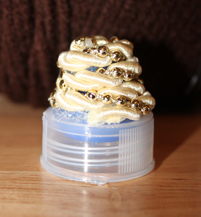
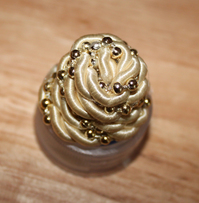
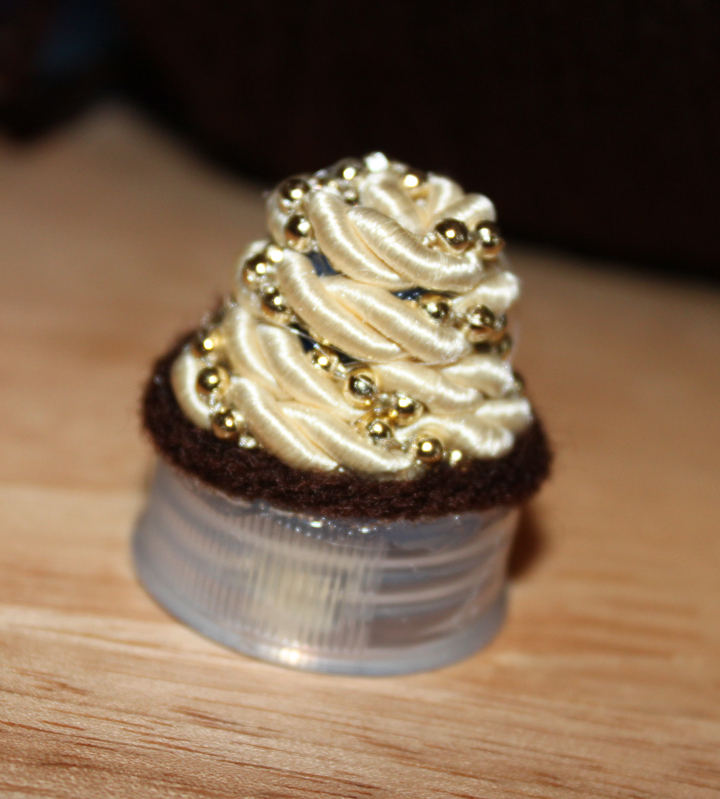
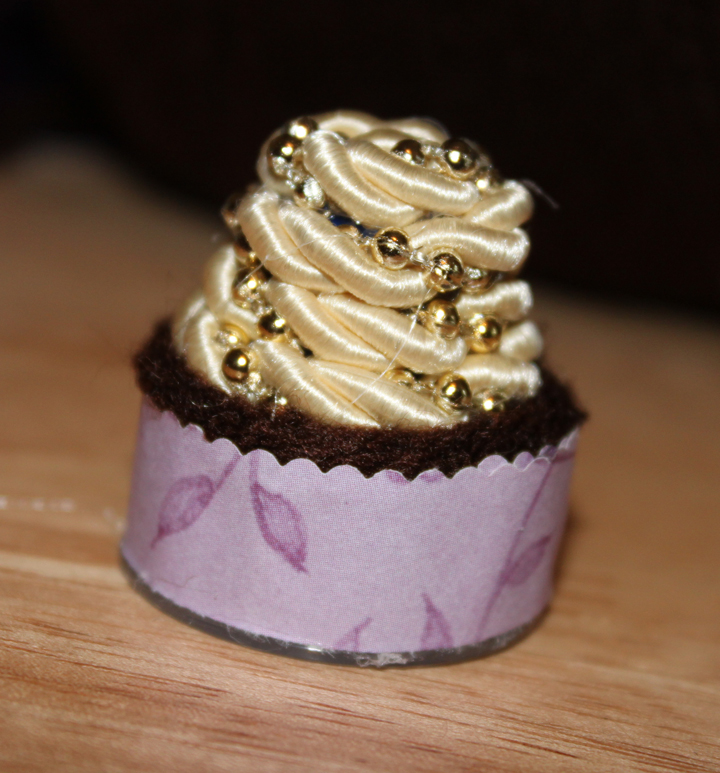
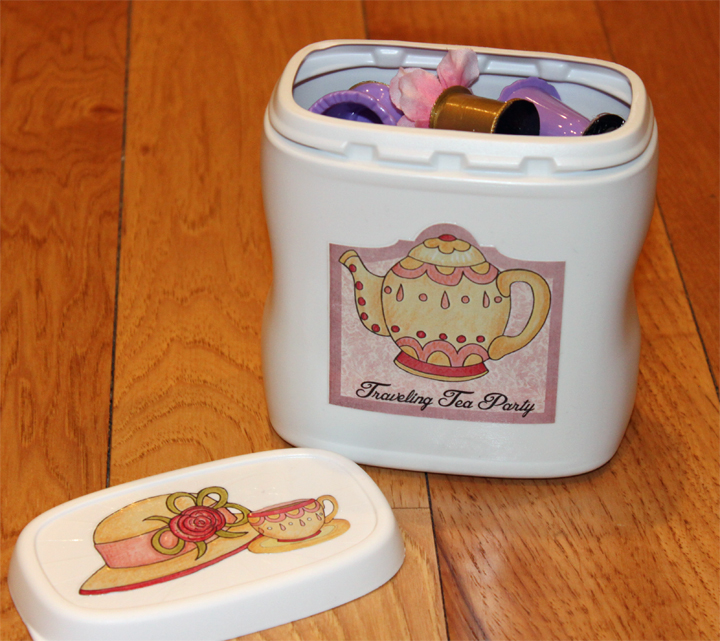
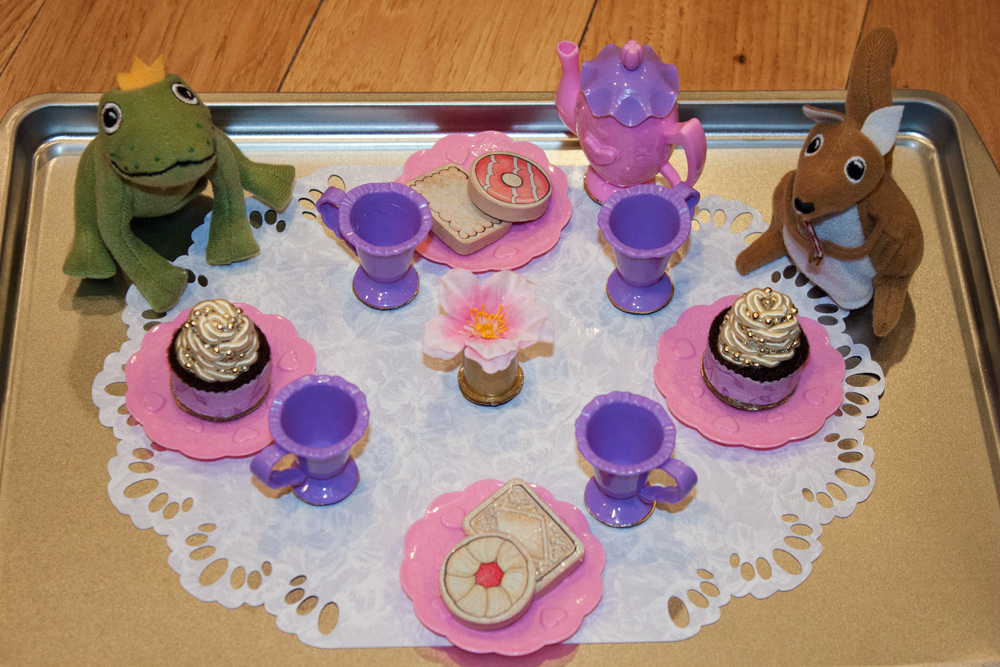
 Now, I needed to adhere magnets to the bottom of all of this stuff, but many of the bottoms were not flat. The plates were fine. But the tea pot and cups had bottoms that caved in, the water bottle lid obviously did not have a bottom, etc. So, I cut out some pieces of thin plastic (i.e. a lid from a sour cream container or something like that). I just used a pen to draw around the bottom of the item, and then cut it out with scissors. First I tried Krazy Glue to attach it to the bottom, but that did not work well, so I ended up using hot glue. I applied the hot glue to the rim of the bottom of item and then centered it on my plastic circle and pressed it down. If any squeezed out, I used my finger to either wipe it off or smash it down before it hardened. I used magnetic tape on the bottoms, but the adhesive was not strong enough for the slick plastic, so I ended up using Krazy Glue to stick the magnets on the plastic pieces. The tape adhesive worked fine for the erasers. Because the magnet tape comes on a roll, I found it necessary to bend the tape backwards to straighten it out before I stuck it on. I also used hot glue to permanently attach the lid to the tea pot. Interestingly, the plastic on the plates is so thin that if you put a pastry or cupcake down flat on the plate, the magnet sticks to the magnet on the underside of the plate. Handy!
Now we just have to hope that between this, the other 4 magnetic games I made, the Melissa and Doug dress-up game, the animal beading game, the busy pages my mom made, the unopened issues of Hello magazine, the flashcards, the iPad, and the 87 different kinds of snacks I am bringing, we will have at least 15 minutes of peace on the flight.
|
Archives
May 2019
Categories
All
|


 RSS Feed
