
Pinterest is a wonderful thing. I wasn't sure when I started this project if it was going to end up being one of those Pinterest Fails or not, but I was sure that I wanted to give it a try. I found this big train cookie a while back and always wanted to try my hand at it, but I had no reason to make a big train cookie. Until I got an invite to my friend's son's birthday party, who was going to be 3... and who loves trains.
I made my own pattern using some clip art I found on the internet and a font called Porkys. I had to print this on two pieces of paper and then tape them together. I made one whole one, and then one with all the pieces cut out.
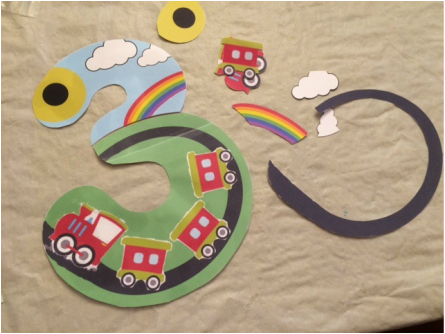
I had never made a cookie this big before, so I got on Cookie Connection to ask for advice. I ended up using a baking sheet that had no sides and rolling the dough out directly on the baking sheet. I had a silicone baking mat under the dough, which helped it to not stick to the baking sheet after baking. I used a knife to hand-cut the "3" and the four train cars, and baked them separately (the "3" went in by itself because it would have to bake longer than the cars.)
After letting everything cool, I transferred the "3" to my cake board. I slid a cardboard cake board under the silicone baking mat and then put another cake board on top, and carefully flipped it over. I peeled off the silicone baking mat from the bottom of the cookie and then put the cake board back on top (which was really the bottom) and then flipped it over again.
-- As a side note, I used scrapbooking paper from my stash to decorate the cake board and then wrapped it in Glad Press and Seal. The paper and the Glad are taped on the back with packing tape. Using the Glad is a must because if you drop icing on the paper, it's not coming off. --
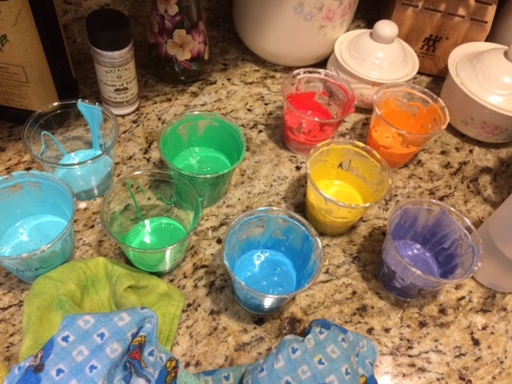
Then came the icing. These are the most colors I have ever used for one project, I usually stick to a color palette of about 5 colors plus white. Because I was flooding such large areas, I also had to make two different icing consistencies for the green and cyan colors, a thicker consistency for piping the outline and a thinner one to fill it in. I almost ran out of green icing when I filled the base coat, phew. Had just enough.
So, now I needed to somehow transfer my design to the cookie. I usually do this with food coloring markers, but I am not very good at following my lines exactly and I didn't want any marker showing, especially since the train tracks were pretty unforgiving. Since they are not filled in, I couldn't really make any mistakes with them.
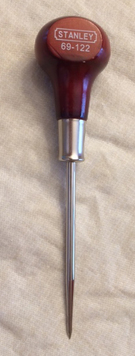
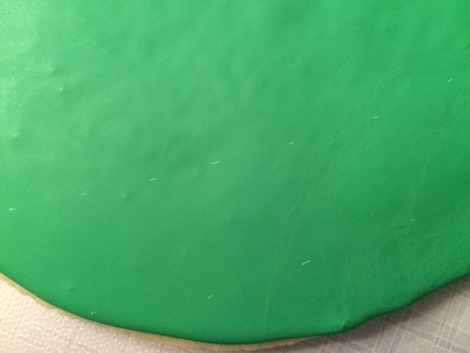
I ended up using an awl that I had bought, thanks to a recommendation I saw on a cookie site. It worked perfectly. I carefully scratched a dashed line in the base coat of icing.
I ended up using an awl that I had bought, thanks to a recommendation I saw on a cookie site. It worked perfectly. I carefully scratched a dashed line in the base coat of icing.
 |  |
This way if I missed my line when I was piping, it wouldn't be as noticeable.
I used that technique for many things - the tracks, the sun, the rainbow, etc. Then I just slowly worked away at all the different details, doing a little at a time and letting the colors dry before putting on another color. For the small areas and lines, I used my heat gun to apply heat for 20 seconds or more to prevent the icing from caving in, but as always, I still got a little caving. I also burned myself with the heat gun, but we won't talk about that. Lesson learned. I also melted the Glad wrap with the heat gun and had to transfer the cookie off and re-do it. Another lesson learned.
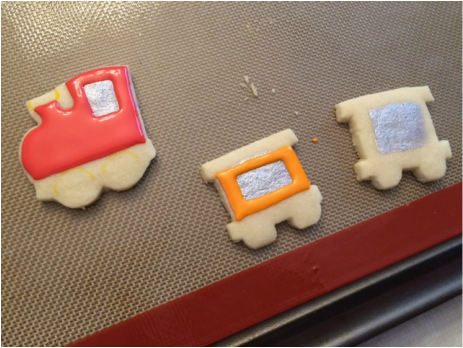
To make the windows, I painted the cookie with silver luster dust and then piped the icing on over the top of it. You can see my edible marker lines in this picture.
A work in progress... the lighting in this room is really yellow.

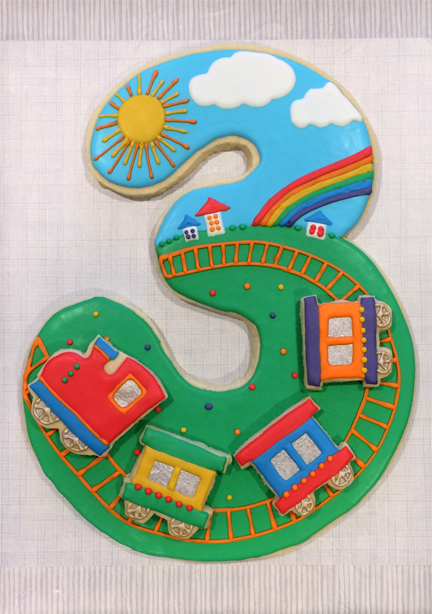
I kept it simpler than the original to give myself fewer opportunities to mess it up :-) All in all, I think it turned out pretty good and it was really fun!
 RSS Feed
