Claire is a huge fan of Itsy Bitsy Spider. When she was an infant, that was the only song that could stop her from crying. Her favorite book for a long time was Iza Trapini's unique version of the story. Now at two years old, she's starting to be able to sing it herself, and loves seeing the occasional real-life spider (even Rosy the giant taratula at the Butterfly Pavilion.)
This was a really fun party theme to do because there's not much out there... they don't make Itsy Bitsy Spider themed party supplies, ya know? So, it forced me to come up with my own ideas.
First, the invitation. There are actually a lot of Itsy Bitsy Spider invitations out on Etsy.com. I liked this one, but the colors weren't quite right so I decided to use the general format and create my own. I also came up with my own wording, which I am extremely proud of because I'm not normally good at that stuff, LOL!
I like going old-school and sending out paper invitations, I get them printed at OvernightPrints.com. They have great quality and are super cheap, but (unlike their name would imply) shipping takes forever if you don't pay extra. I try to do stuff far enough in advance that I don't need to pay extra (it takes about a month for normal shipping.)
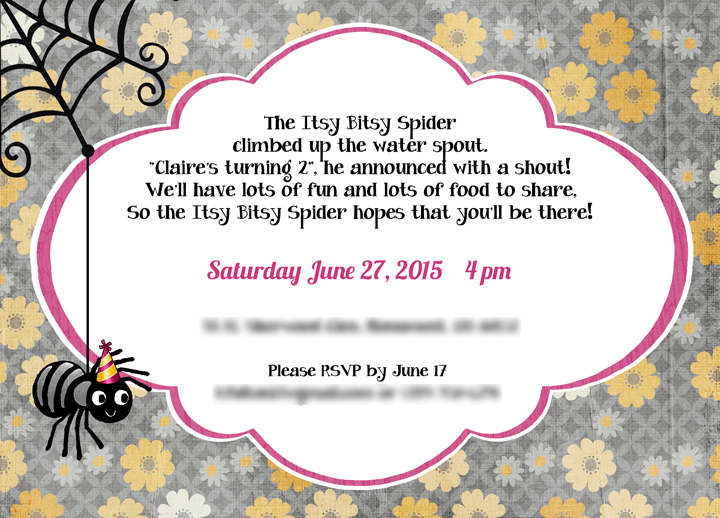
Flowered paper from Your Sweet Smile digital scrapbooking kit from Studio Sherwood. Party hat and spider web found via Google Images, and spider was scanned from one of Claire's books, called "Hello, Bugs!"
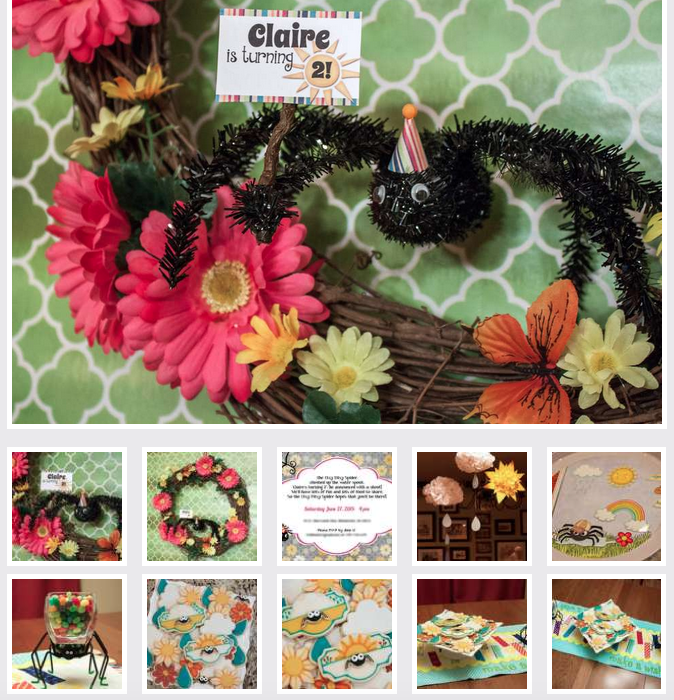
I started planning this party in October because that's when all the spider stuff is out in the stores. Most of the stuff was either the wrong colors or too menacing-looking, but I did find a couple things I got great use out of.
The first was this big googly-eyed spider that I found at my local Safeway grocery store.
Striped pattern from Color Happy digital scrapbooking kit by Michelle Coleman. Sun from Good Old Summertime by KimEric Kreations.
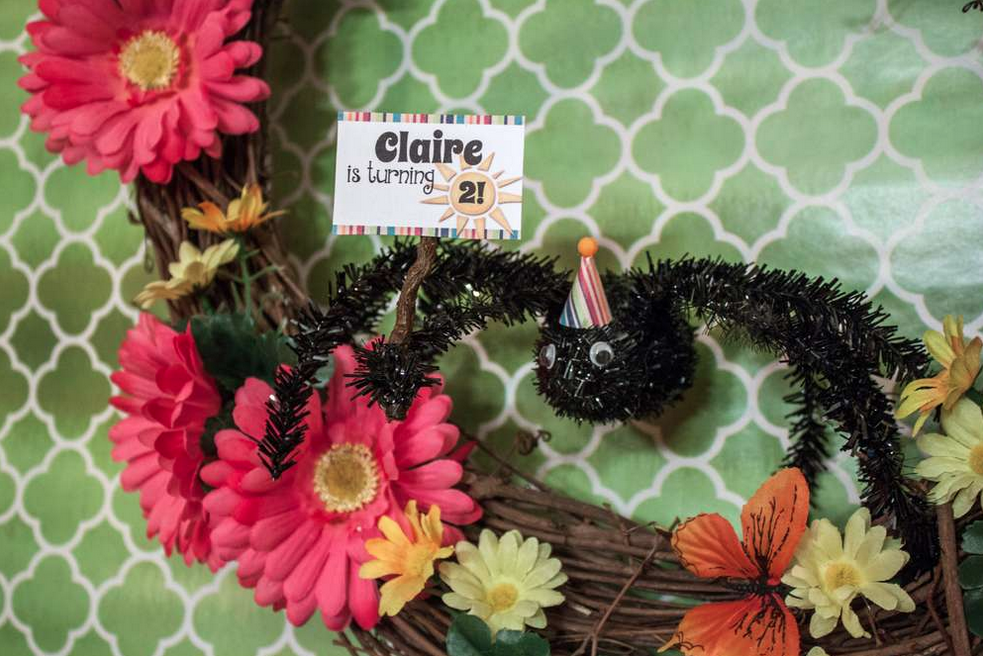
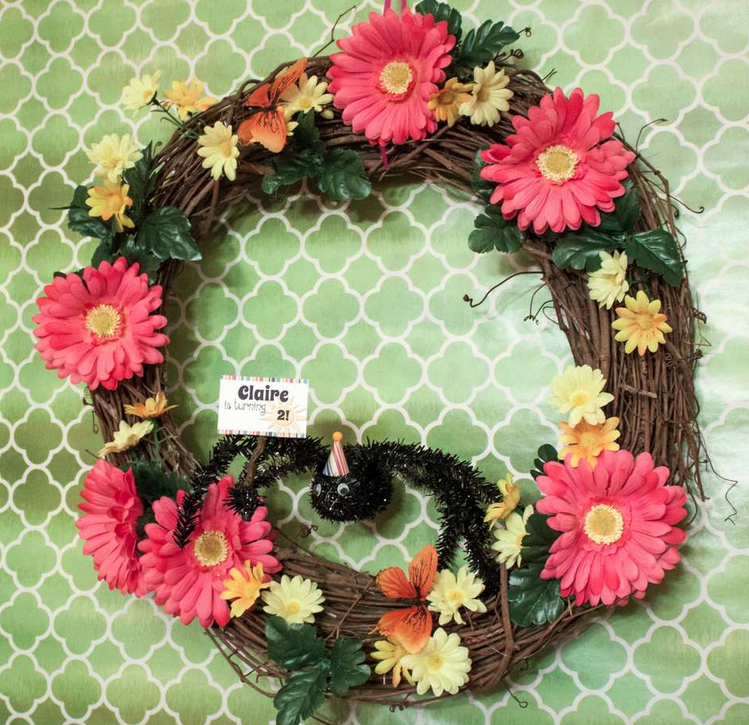
I made a little party hat for him out of some paper and a plastic bead and hot-glued it on. The flowers are from a flowered garland I bought at Michaels; I pulled the flowers, leaves and butterflies off and hot-glued them around a grapevine wreath. I made the sign on my computer and glued it to a small stick.
Claire LOVES this spider so much that I had to buy a wreath hanger and hang it on her bedroom door. She says "Hi Mr. 'Pider!" to it multiple times a day.
Claire LOVES this spider so much that I had to buy a wreath hanger and hang it on her bedroom door. She says "Hi Mr. 'Pider!" to it multiple times a day.
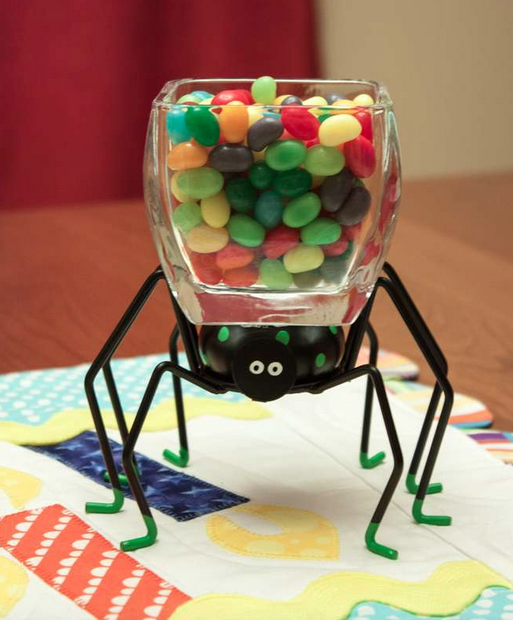
A couple of my favorite elements of the party were the candy dishes. I found these spider votive holders at my local Kroger-affiliate grocery store in October. The glass dishes are candle holders from Michaels. I glued them together and put some colorful jelly beans in them. Can't wait to use these again for Halloween!
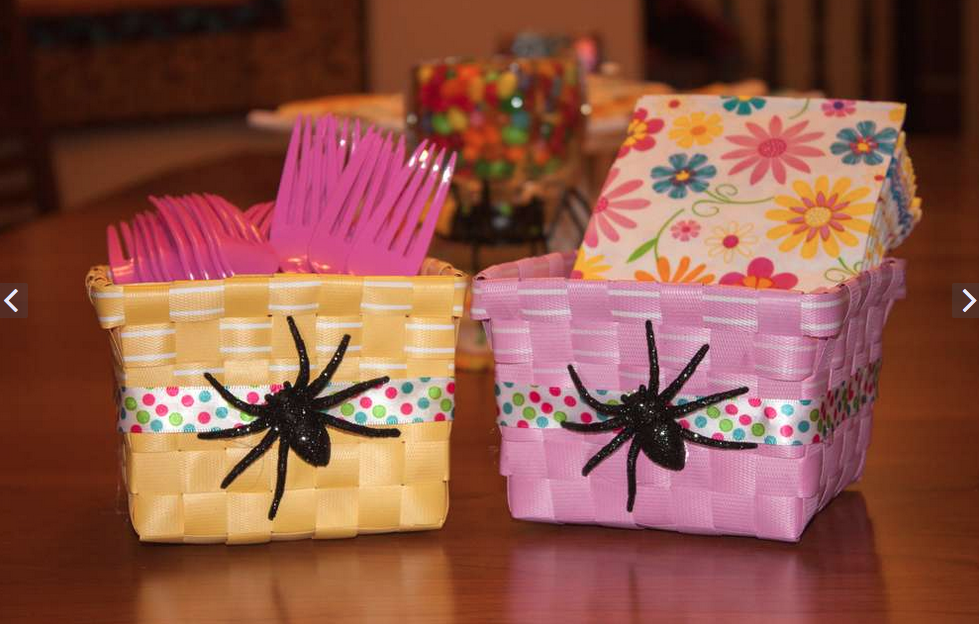
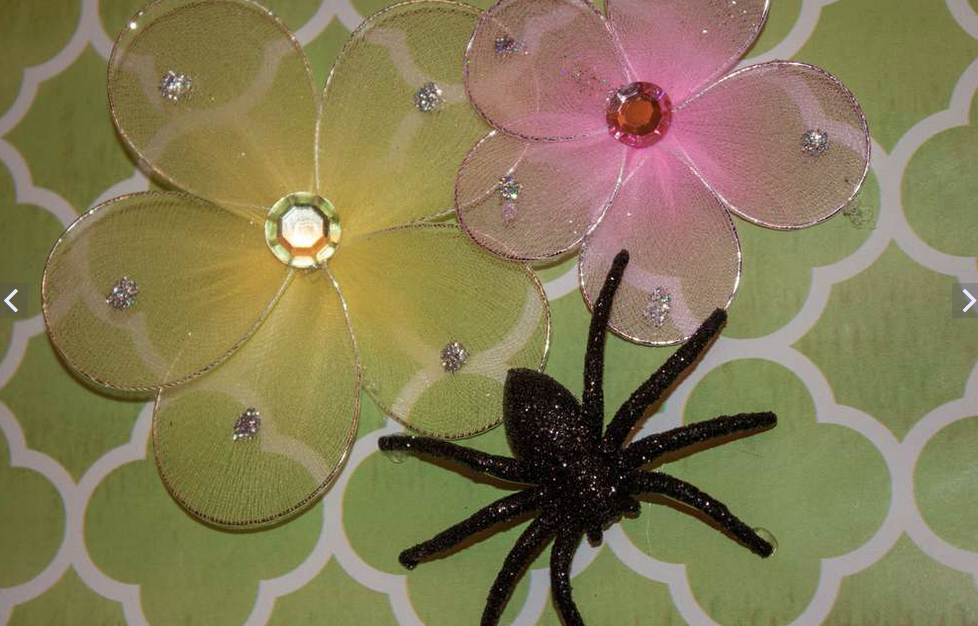
I also found these glittery spiders at Walmart around Halloween, they came in a 12 pack. I used some of them to decorate Dollar Tree baskets (the same baskets I used for her first birthday party), and some to decorate the wall. The green background pictured here is wrapping paper from Dollar Tree, I used it to cover a large painting behind the food table and that's where I hung the wreath and the glitter spiders. The flowers are also from Dollar Tree spring selection. Napkins are from my local Kroger-affiliate, polka-dot ribbon from the dollar bin at Michaels.
 |  |
The other things I found at Halloween were these felt spider web place mats at Michaels. I glued pieces of green patterned scrapbook paper underneath them. I was going to use them under my candy dishes, but the spiders on the candy dishes didn't stand out enough because it was black on black, so I used them on the food table instead.
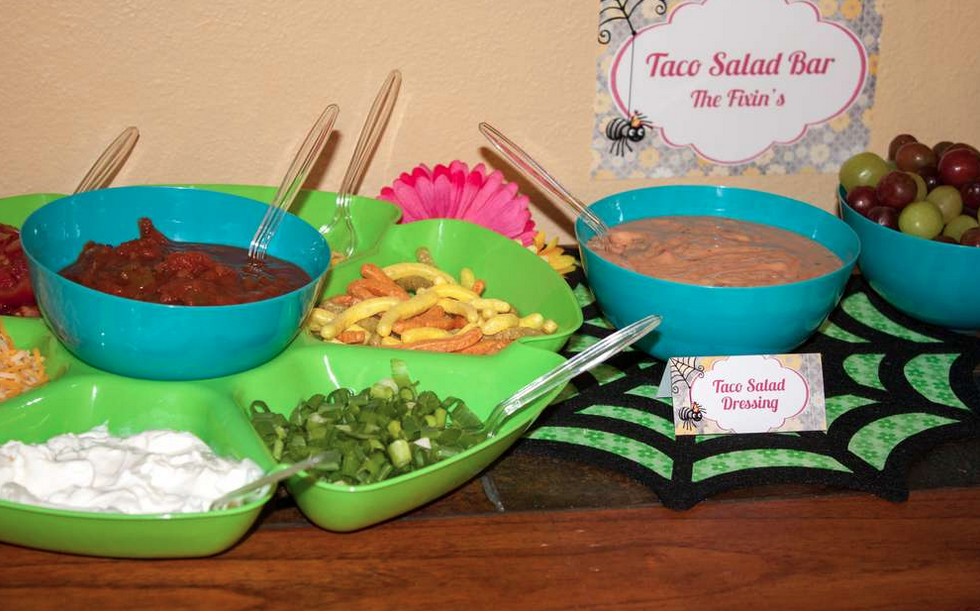
Plastic serving dishes from Dollar Tree
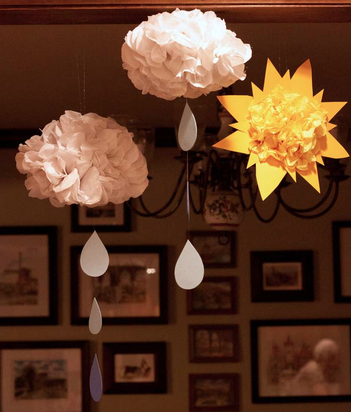
Next up are some hanging sun and rain cloud decorations made out of tissue paper. I could not get a very good picture of these due to the lighting, but they were REALLY cute. Some tutorials here and here for the tissue paper part. For the rain drops, I cut the shapes out of blue cardstock and just sandwiched the fishing line in between two pieces and glued it.
For the cupcakes, I had a vision that did not turn out quite as I had hoped. I wanted them to look like these cupcakes from Wilton, with two flowers and a tiny spider next to the flowers.
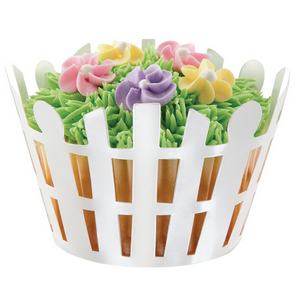
Wilton picket fence cupcake wrappers
But I couldn't find any candy spiders small enough. I tried making some by piping chocolate onto waxed paper, but that didn't go well. I ended up using a mold, but the spiders were bigger than I wanted them to be. We also used buttercream instead of royal icing for the flowers, so they didn't turn out as nice because we had to freeze them and then try to get them on the cupcakes without messing them up. And they sweated. Annnnd, the bakery took my request of "make the frosting look like grass" very seriously, and it was VERY green, LOL. I wish I had taken the Wilton picture in and told them to make it like this so it would have been lighter.
Alas, lessons learned.
Alas, lessons learned.

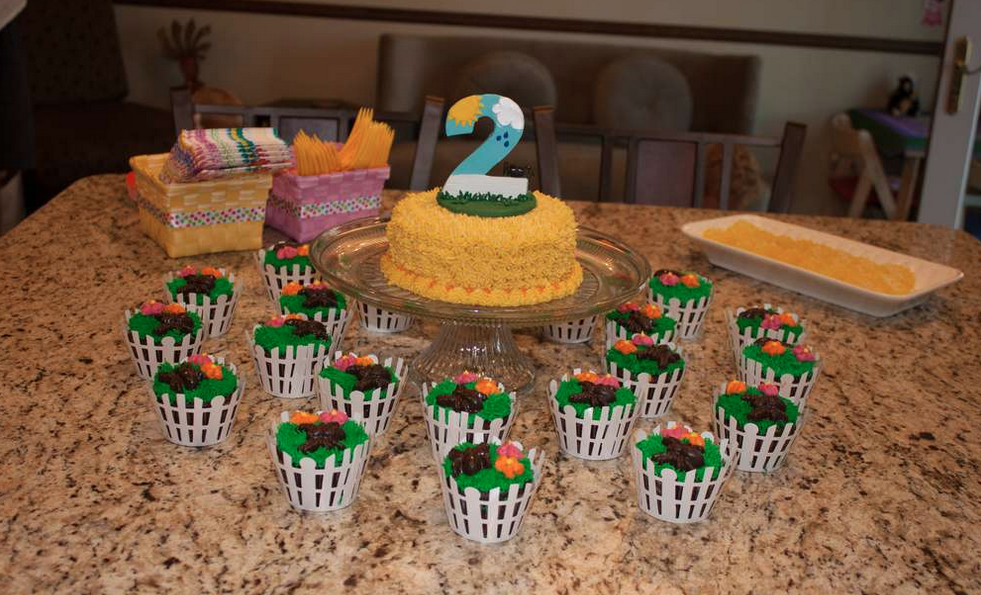
They still looked nice grouped around the cake.
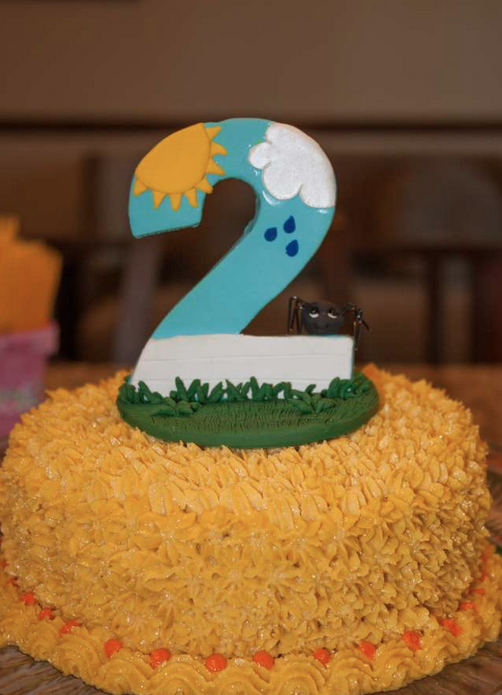
The cake topper was commissioned through Lynn's Little Creations on Etsy. She made our wedding cake topper, so I decided that I was going to have her make Claire's birthday cake toppers every year, and then we would turn them into ornaments for the Christmas tree. It's kind of hard to see the spider in this picture, but he was so cute!
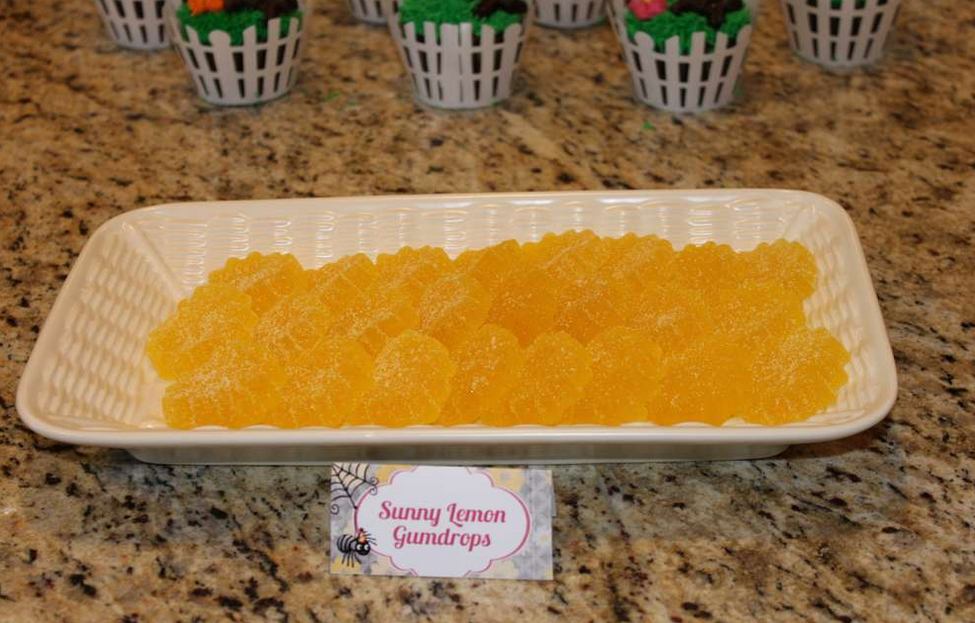
I made some Sunny Lemon Gumdrops using a star shaped silicone mold. I followed this recipe from Sew Can Do and used lemon extract. They were delicious!
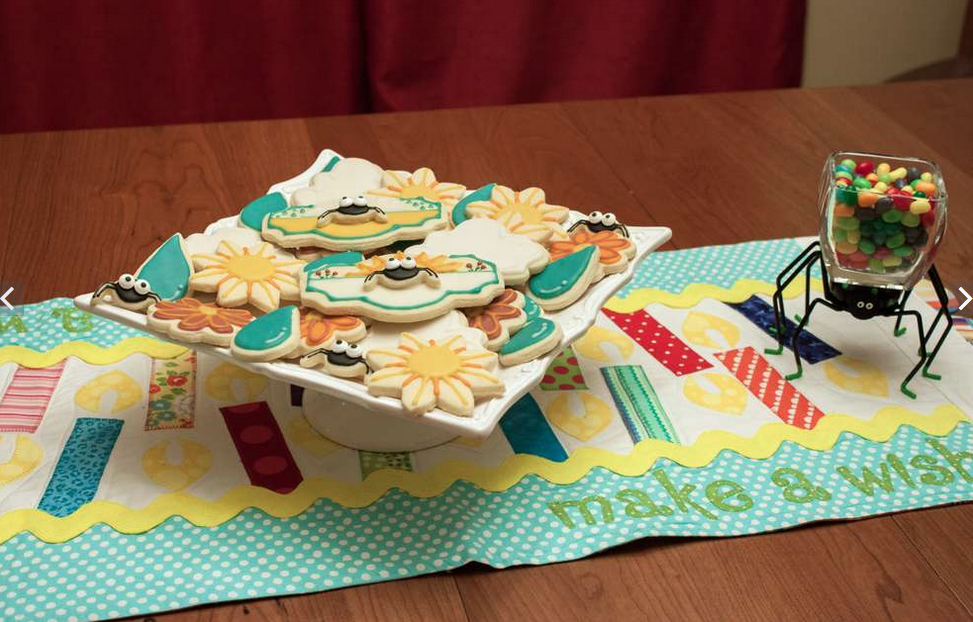
My pride and joy -- the cookies!
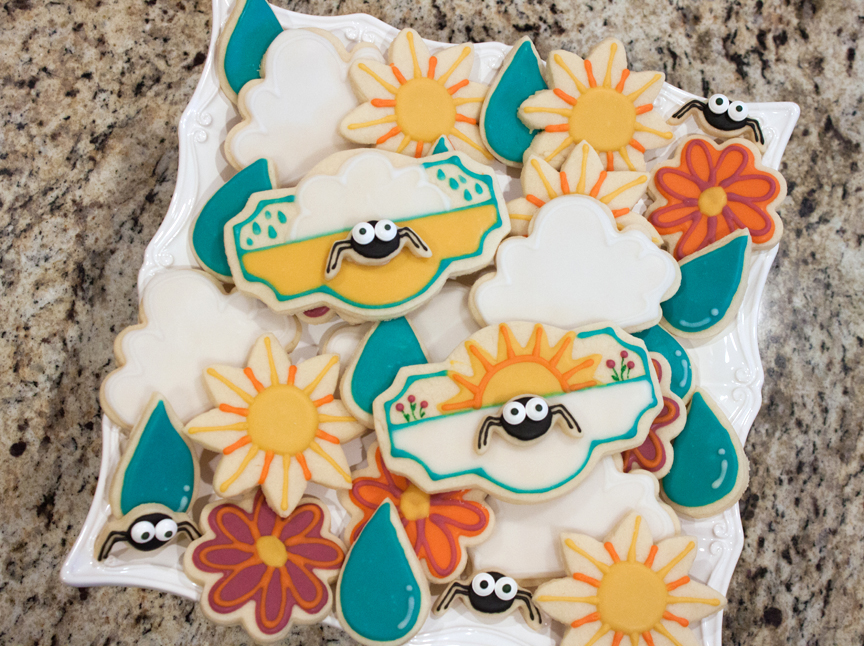
I got the idea for the plaque cookies from this sample picture at Karen's Cookies, and the idea for the sun at Glorious Treats. I made the rain drops with a heart cutter and then just sliced them in half.
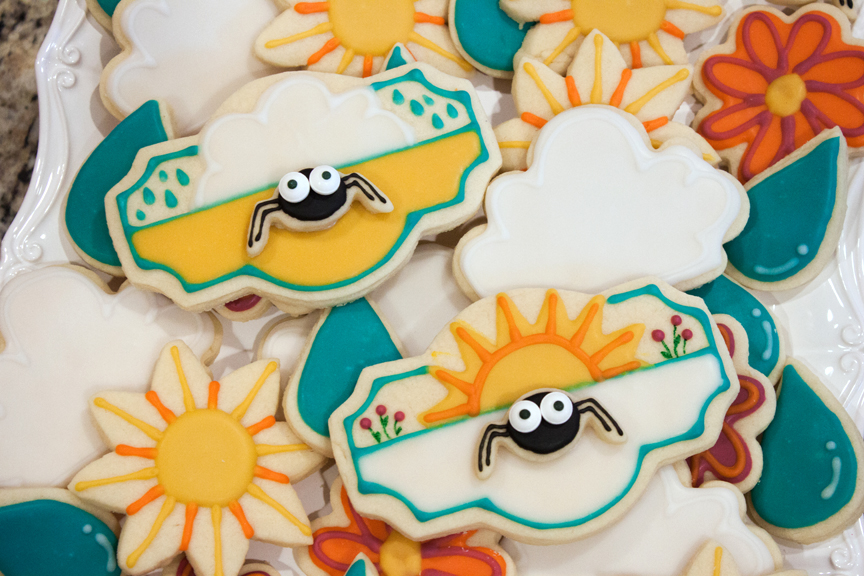
The tiny spider cookie cutter is from this Wilton set, and the eyes are these candy eyeballs, also from Wilton.
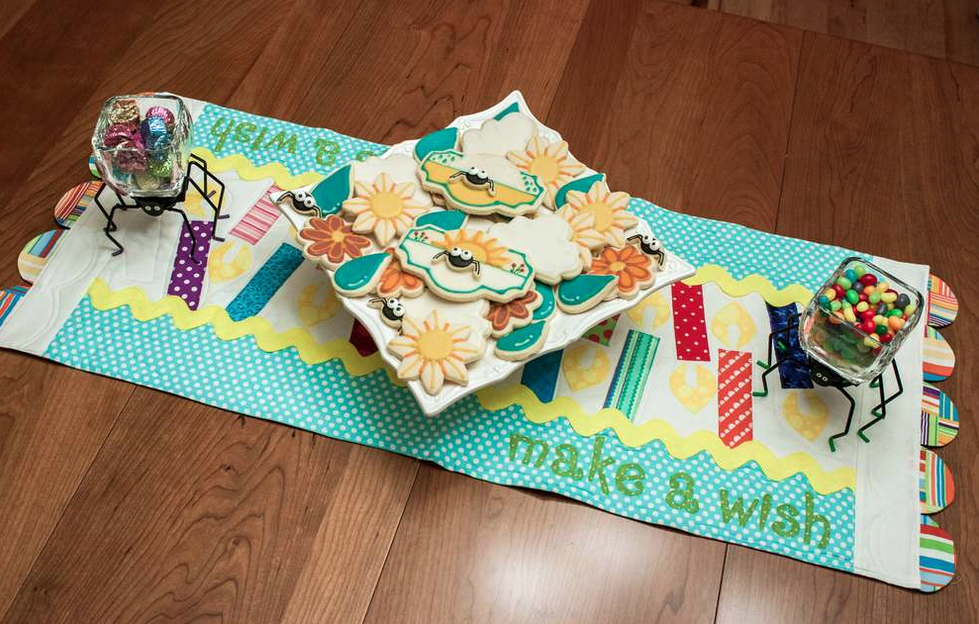
This beautiful quilted table runner was made by Claire's Great-Aunt Cindy. There is a matching place mat that goes with it that says, "It's My Day!" We used it at her first birthday party and will be using for every birthday to come. It just happened to match the cookies perfectly, that was not planned! :-)
And finally, the party favors. These are little magnetic Itsy Bitsy Spider scenes using printable magnet paper. I cut the shapes out with my Silhouette portrait. The metal background is a burner cover (2 for $1 at Dollar Tree).
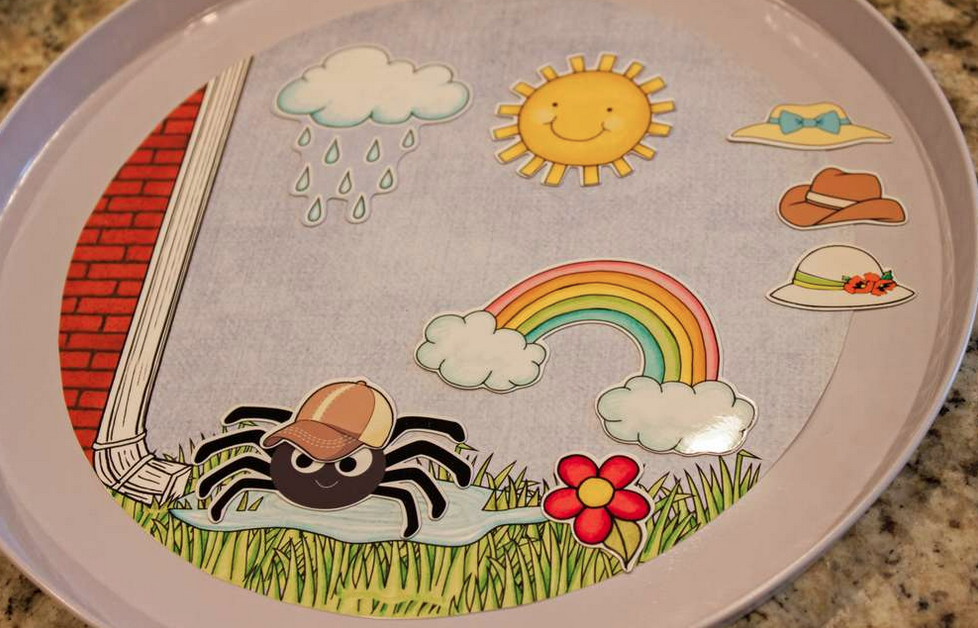
I created the scene myself using some graphics I found via Google Images, and various different digital scrapbooking kits by Kate Hadfield.
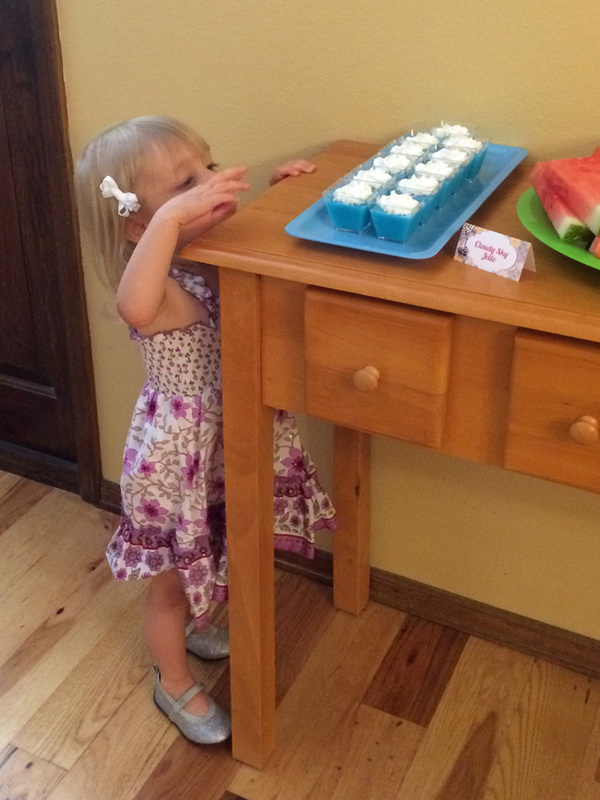
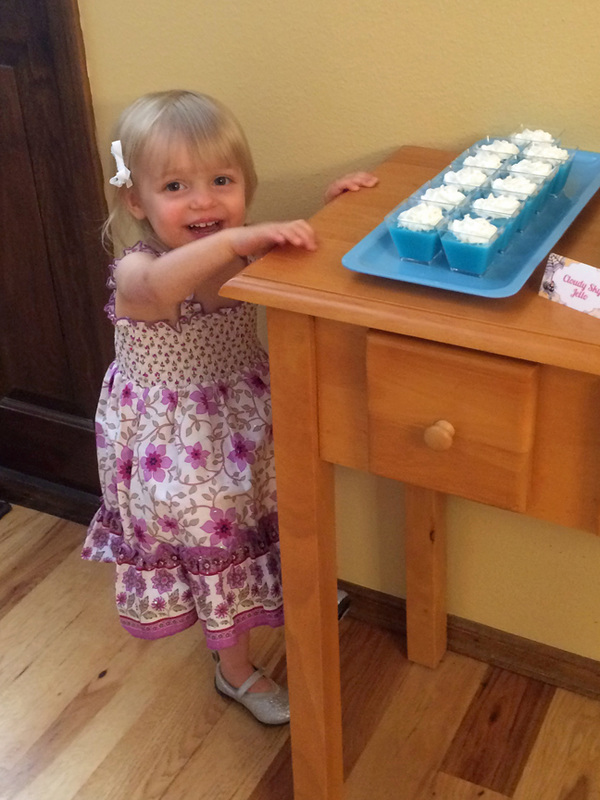
Whew! That was a lot of pictures! The party was a blast! Here are a couple more of the birthday girl trying to sneak some jello... and the look on her face when she realized she was caught.
Whew! That was a lot of pictures! The party was a blast! Here are a couple more of the birthday girl trying to sneak some jello... and the look on her face when she realized she was caught.
 |  |
 RSS Feed
