
Full instructions below!
  |  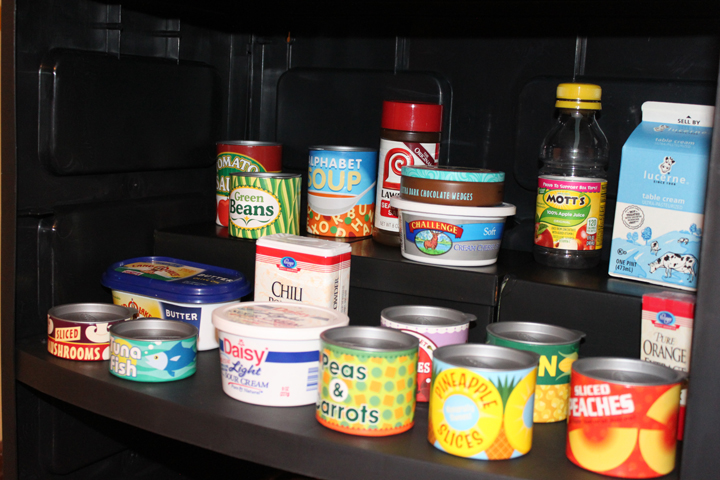 |
Claire got a shopping cart for Christmas, along with a set of Melissa and Doug grocery cans. For the past several weeks, we have been saving some containers from our own groceries that would normally go in the recycle bin, so she's got quite a collection of food but she doesn't really know what to do with it. She'll take it out of her shopping cart and put it on the floor, take the lids off every once in a while, but other than that she doesn't play with it much. She's getting a play kitchen for her birthday in June, so I decided to make her a play market in hopes of encouraging her to play more with the cart and food.
Pinterest is rife with photos of DIY play kitchens and markets and blogs that tell you how to make them. The only problem is that those people have some level of talent and/or patience with tools, and I don't. Saws, drills, nail guns, they are not my friends. On the other hand, glue, paper, scissors -- pretty much anything you find at a craft store, I can do.
So, here is how I made a play market with no* tools:
Supplies:
Black plastic storage cabinet (remove doors)
6 yard sticks
1 package sticky-back velcro
1 8-oz tester pot of black latex paint
2/3 yard fabric of your choice
2/3 yard fusible backing, medium weight
2 feet decorative trim, optional
scissors
glue gun
tape measure / ruler
level
hand saw / sandpaper, optional*
wood glue
paintbrush
small cardboard boxes, optional
baskets, optional
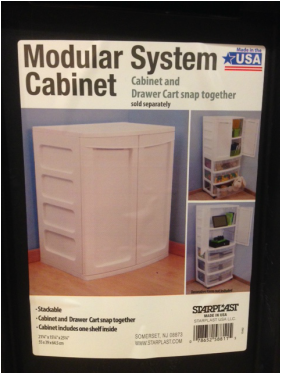
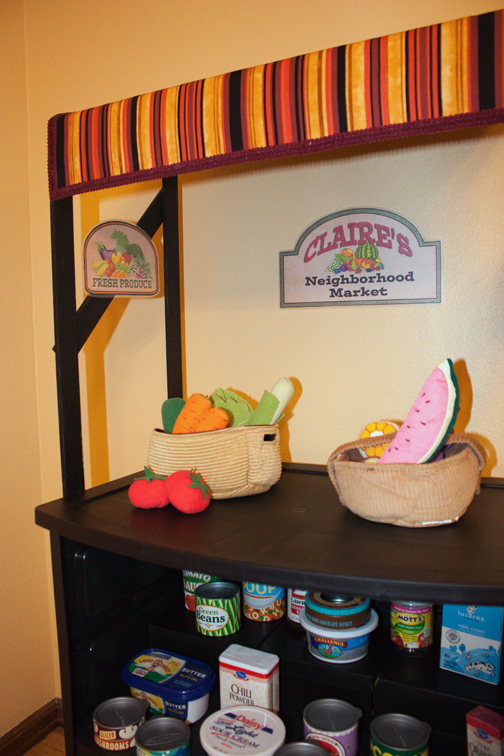
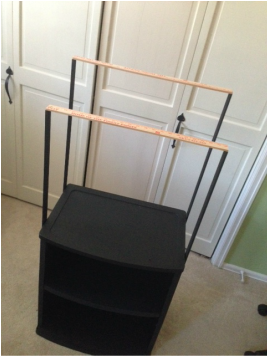
I wanted this project to be cheap and easy, sacrificing a bit of quality was okay with me. I started with a black plastic storage cabinet for $20 at Walmart. When I picked it up off the shelf, the doors fell right off. Perfect, less work for me! I chose black because it looked less cheap than white, and it was a fortunate choice for other reasons which I'll explain later.
Then I needed to build a frame for the canopy. I was musing about what type/size of wood I needed when my mom suggested using yard sticks. Bingo! They were cheap (89 cents ea.), the exact size I needed, didn't require sanding and were already cut into usable lengths. I only had to make two cuts for this whole project. (Okay, yes, I used a saw. BUT, you could get them cut at Home Depot for a very small charge. And had I known what length I needed when I bought them, I would have done that, but I was kind of winging it and wasn't sure what I was going to do.)
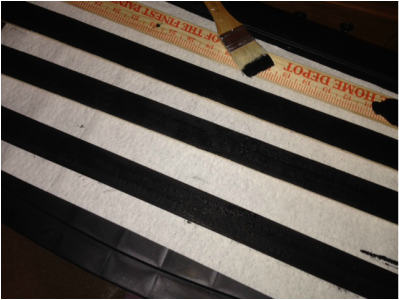
I painted four of the yardsticks black to match the cabinet. This is where the color choice was fortunate -- the yard sticks were embossed with tick marks, numbers, Home Depot logo, etc. Black paint reduced the shadows of the embossing so it's not as noticeable.
I painted four of the yardsticks black to match the cabinet. This is where the color choice was fortunate -- the yard sticks were embossed with tick marks, numbers, Home Depot logo, etc. Black paint reduced the shadows of the embossing so it's not as noticeable.
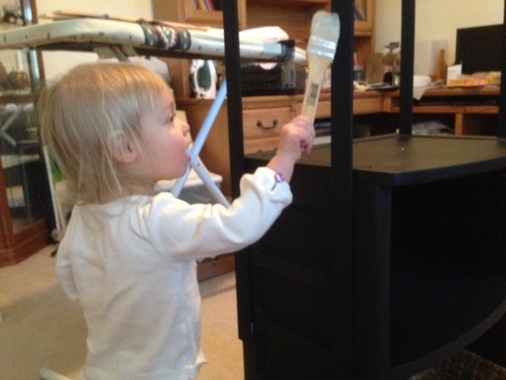
Put that kid to work!
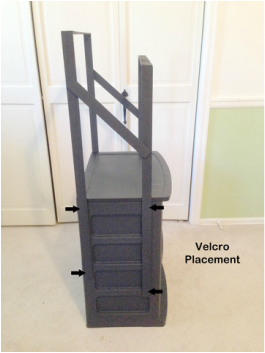 I lightened this photo up a lot to show the placement of the sticks...
 (This photo is out of order, but it shows the placement of the yard sticks and velcro.)
I used sticky-back velcro to attach four of the sticks to the sides of the cabinet. Mostly because that was the simplest solution I could think of, but it also makes the canopy part removable if you want to store it somewhere. I used white velcro because that's what I had in my craft stash, and you can't even tell.
I used two pieces of velcro per stick, one toward the top of the cabinet, and the other at the bottom end of the yard stick. I did some measuring to be sure the sticks were in the same place on both sides. I placed them on the cabinet, but didn't press too hard on the velcro. I set one of the other yard sticks on top and used a level to make sure they were equal height. I moved one stick up or down as needed until it was level, and then pressed down hard on the velcro to stick it down well.
I set the front sticks lower than the back sticks so I could get a cute angle on the canopy. As you can see in the photo, I didn't bother cutting them, I just placed the front lower than the back. I also set the front sticks back a little from the front of the cabinet just so the canopy wasn't protruding as much.
Then, I cut my last two yard sticks. I placed one stick flat on top of the back sticks and measured and marked it for the cut, then I did the same with the front sticks. Do not assume they will be the same -- for some reason, mine were slightly different. Once I had them cut, I sanded the cut end a little bit, and then used wood glue to glue them to the top of the vertical sticks. When that was dry, I painted them black.
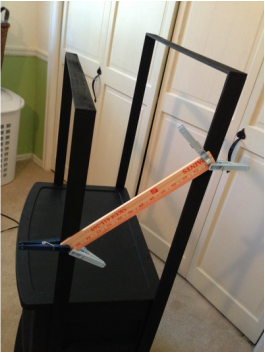 | I then took the remaining pieces of the yard sticks and glued them diagonally to the frame just to make it more stable. If you wanted to make two more cuts, you could put them horizontally, but I was too lazy for that. I used some extremely high tech clamps to hold them in place while they dried. Then I painted them black. |
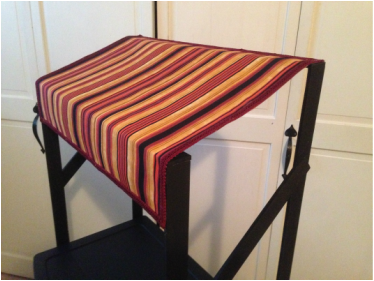
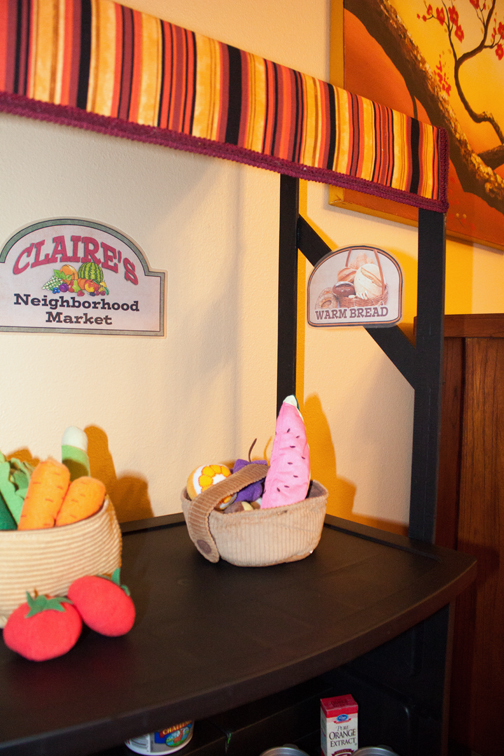
I followed the manufacturer's instructions to fuse the fusible backing to the wrong side of my fabric. This made it thicker/stiffer and ensured that I wouldn't have to hem the edges. Because sewing is hard. I measured and cut the fabric to size. I had some trim left over from some other project years ago, so I used hot glue to glue it on the edges of the fabric. Then I hot glued the fabric to my frame.
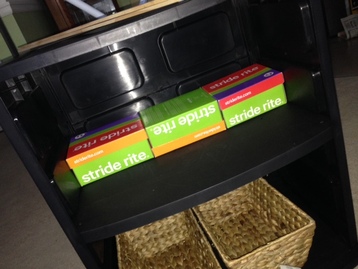 For the top shelf, I decided to make a set of risers so that Claire can more easily see all the food. Also, the shelf is so big that it needed something to take up some vertical space. I found that three Stride Rite shoe boxes were a perfect fit across. (For the record, these are Size 5, 5.5 and 6 boxes.) I had to turn one upside down to make them fit. | 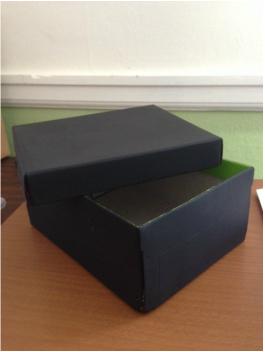 I painted them black and wedged them in. |
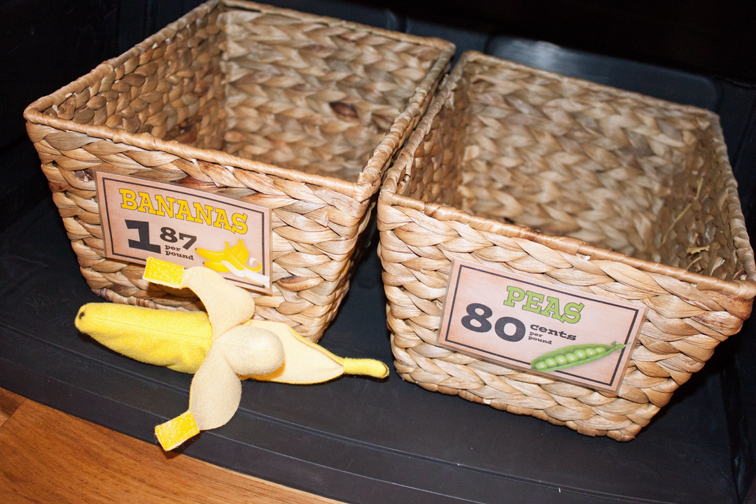
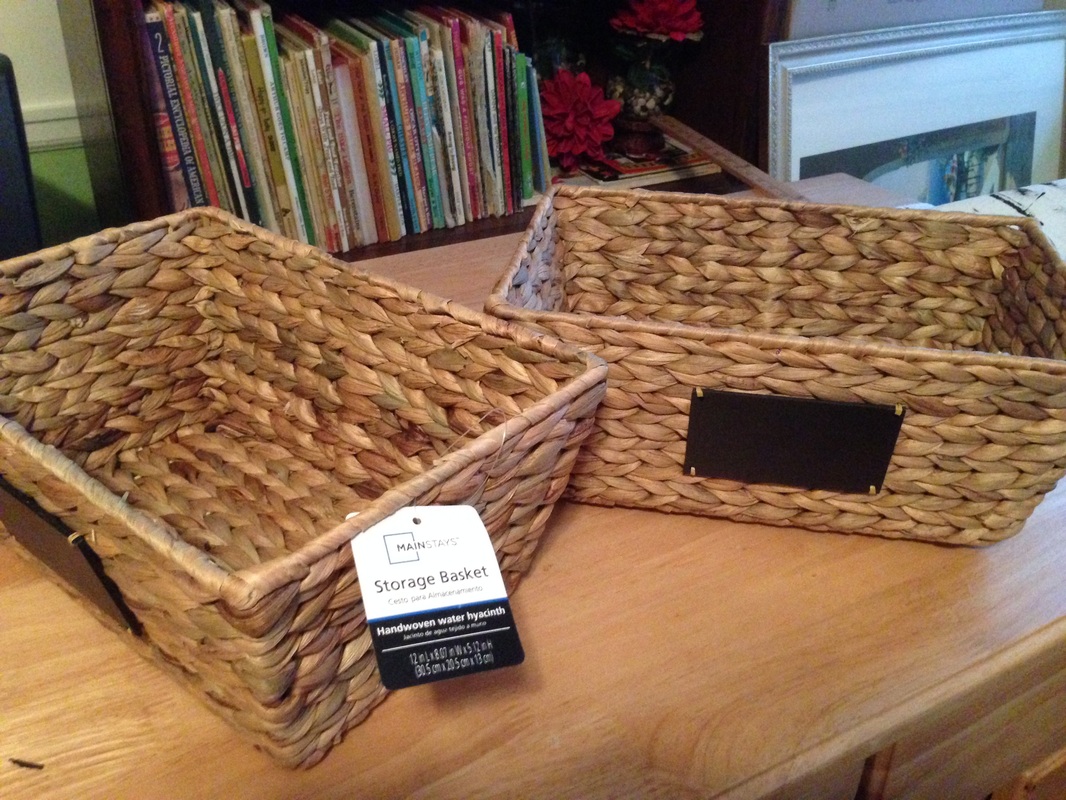 | I bought the baskets at Walmart for $5 each. They have a cute chalkboard tag, but I ended up turning them sideways to fit both on one shelf. |
And that is how Claire's new market came to be! It's all set up and waiting for her to discover it tomorrow morning!
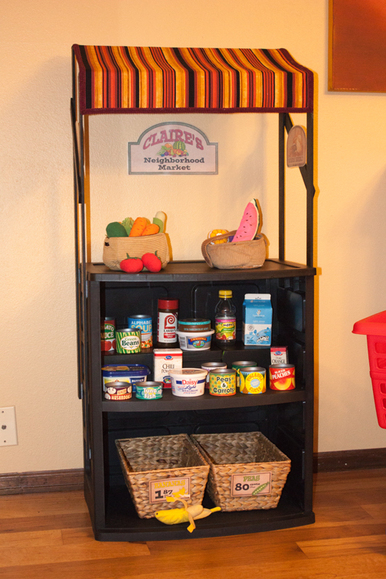
And here is the big reveal :-)

 RSS Feed
