Adventures in Sherwood Forest
  • Blog
  • Recipes
  • About

DIY Play Market with No Tools!

2/15/2015

3 Comments

 
Picture
Full instructions below!
Picture
Picture
Picture
Picture
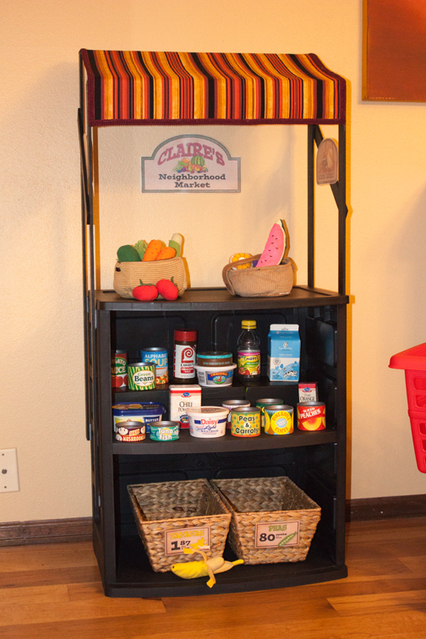
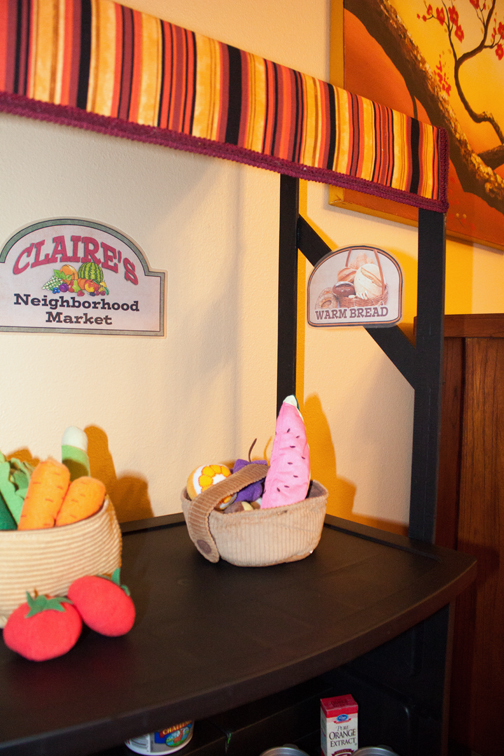
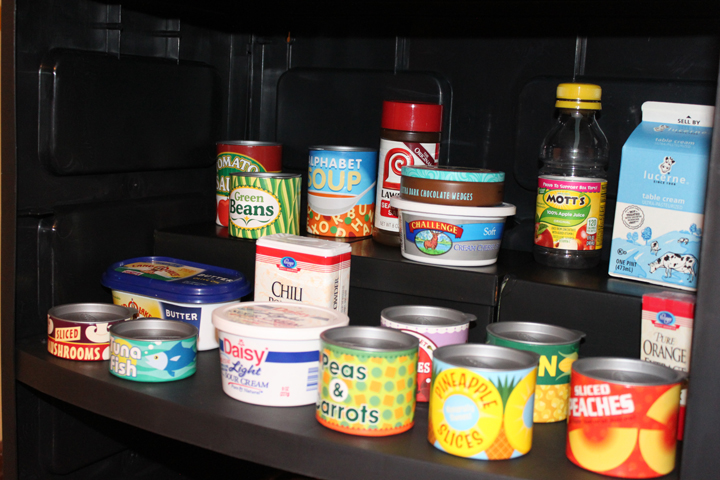
Claire got a shopping cart for Christmas, along with a set of Melissa and Doug grocery cans.  For the past several weeks, we have been saving some containers from our own groceries that would normally go in the recycle bin, so she's got quite a collection of food but she doesn't really know what to do with it.  She'll take it out of her shopping cart and put it on the floor, take the lids off every once in a while, but other than that she doesn't play with it much.  She's getting a play kitchen for her birthday in June, so I decided to make her a play market in hopes of encouraging her to play more with the cart and food.

Pinterest is rife with photos of DIY play kitchens and markets and blogs that tell you how to make them.  The only problem is that those people have some level of talent and/or patience with tools, and I don't.  Saws, drills, nail guns, they are not my friends.  On the other hand, glue, paper, scissors -- pretty much anything you find at a craft store, I can do. 

So, here is how I made a play market with no* tools:

Supplies:

Black plastic storage cabinet (remove doors)
6 yard sticks
1 package sticky-back velcro
1 8-oz tester pot of black latex paint
2/3 yard fabric of your choice
2/3 yard fusible backing, medium weight
2 feet decorative trim, optional
scissors
glue gun
tape measure / ruler
level
hand saw / sandpaper, optional*
wood glue
paintbrush
small cardboard boxes, optional
baskets, optional
Picture

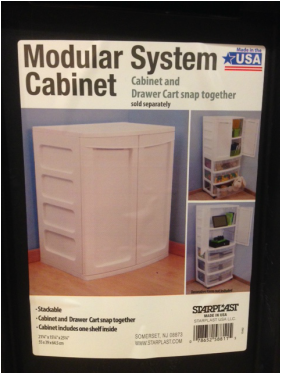
I wanted this project to be cheap and easy, sacrificing a bit of quality was okay with me.  I started with a black plastic storage cabinet for $20 at Walmart.  When I picked it up off the shelf, the doors fell right off.  Perfect, less work for me!  I chose black because it looked less cheap than white, and it was a fortunate choice for other reasons which I'll explain later.


Picture
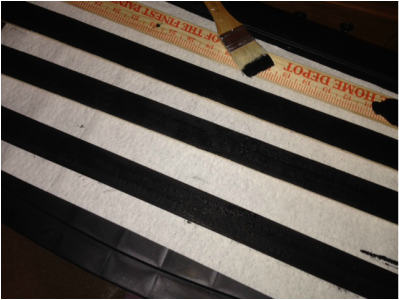
Then I needed to build a frame for the canopy.  I was musing about what type/size of wood I needed when my mom suggested using yard sticks.  Bingo!  They were cheap (89 cents ea.), the exact size I needed, didn't require sanding and were already cut into usable lengths.  I only had to make two cuts for this whole project.  (Okay, yes, I used a saw.  BUT, you could get them cut at Home Depot for a very small charge.  And had I known what length I needed when I bought them, I would have done that, but I was kind of winging it and wasn't sure what I was going to do.)

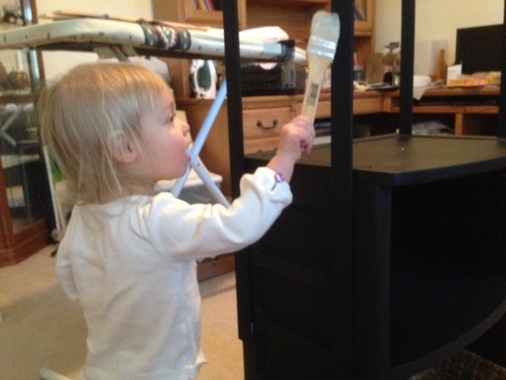
I painted four of the yardsticks black to match the cabinet.  This is where the color choice was fortunate -- the yard sticks were embossed with tick marks, numbers, Home Depot logo, etc.  Black paint reduced the shadows of the embossing so it's not as noticeable.

Picture
Put that kid to work!

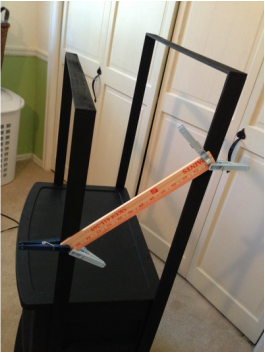
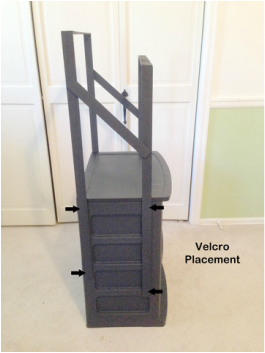
PictureI lightened this photo up a lot to show the placement of the sticks...
(This photo is out of order, but it shows the placement of the yard sticks and velcro.)

I used sticky-back velcro to attach four of the sticks to the sides of the cabinet.  Mostly because that was the simplest solution I could think of, but it also makes the canopy part removable if you want to store it somewhere.  I used white velcro because that's what I had in my craft stash, and you can't even tell.

I used two pieces of velcro per stick, one toward the top of the cabinet, and the other at the bottom end of the yard stick.  I did some measuring to be sure the sticks were in the same place on both sides.  I placed them on the cabinet, but didn't press too hard on the velcro.  I set one of the other yard sticks on top and used a level to make sure they were equal height.  I moved one stick up or down as needed until it was level, and then pressed down hard on the velcro to stick it down well.

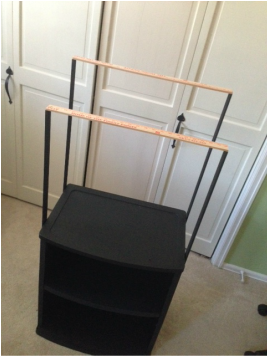
I set the front sticks lower than the back sticks so I could get a cute angle on the canopy.  As you can see in the photo, I didn't bother cutting them, I just placed the front lower than the back.  I also set the front sticks back a little from the front of the cabinet just so the canopy wasn't protruding as much. 
Picture
Then, I cut my last two yard sticks.  I placed one stick flat on top of the back sticks and measured and marked it for the cut, then I did the same with the front sticks.  Do not assume they will be the same -- for some reason, mine were slightly different.  Once I had them cut, I sanded the cut end a little bit, and then used wood glue to glue them to the top of the vertical sticks.  When that was dry, I painted them black.

Picture
I then took the remaining pieces of the yard sticks and glued them diagonally to the frame just to make it more stable.  If you wanted to make two more cuts, you could put them horizontally, but I was too lazy for that.  I used some extremely high tech clamps to hold them in place while they dried.  Then I painted them black.
Picture
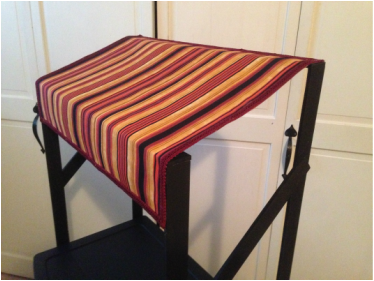
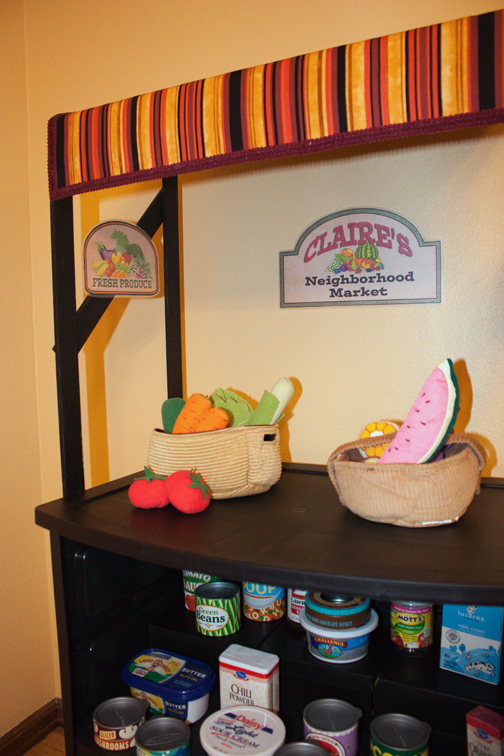
I followed the manufacturer's instructions to fuse the fusible backing to the wrong side of my fabric.  This made it thicker/stiffer and ensured that I wouldn't have to hem the edges.  Because sewing is hard.  I measured and cut the fabric to size.  I had some trim left over from some other project years ago, so I used hot glue to glue it on the edges of the fabric.  Then I hot glued the fabric to my frame.


Picture
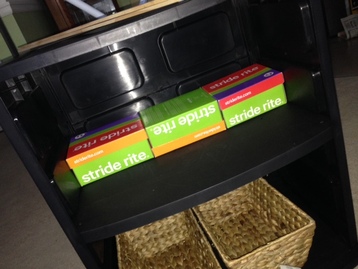
For the top shelf, I decided to make a set of risers so that Claire can more easily see all the food.  Also, the shelf is so big that it needed something to take up some vertical space.  I found that three Stride Rite shoe boxes were a perfect fit across.  (For the record, these are Size 5, 5.5 and 6 boxes.)  I had to turn one upside down to make them fit. 

Picture
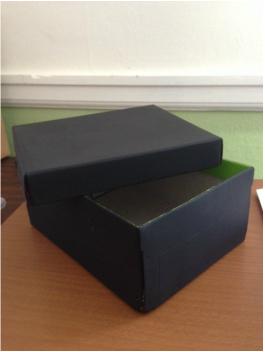
I painted them black and wedged them in.

Picture
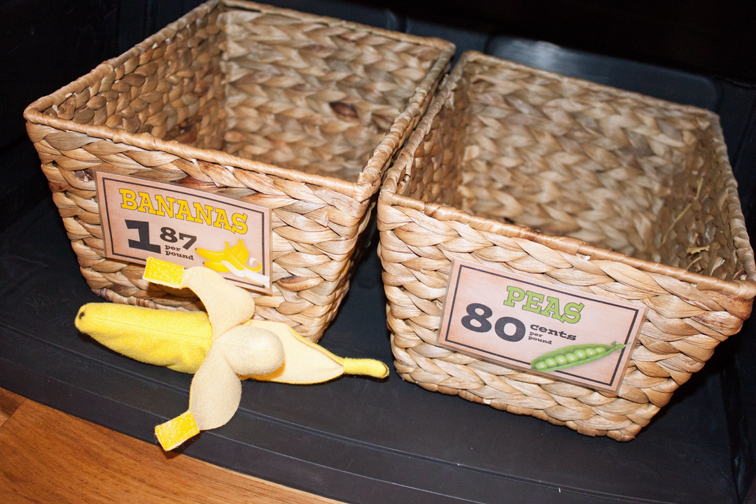
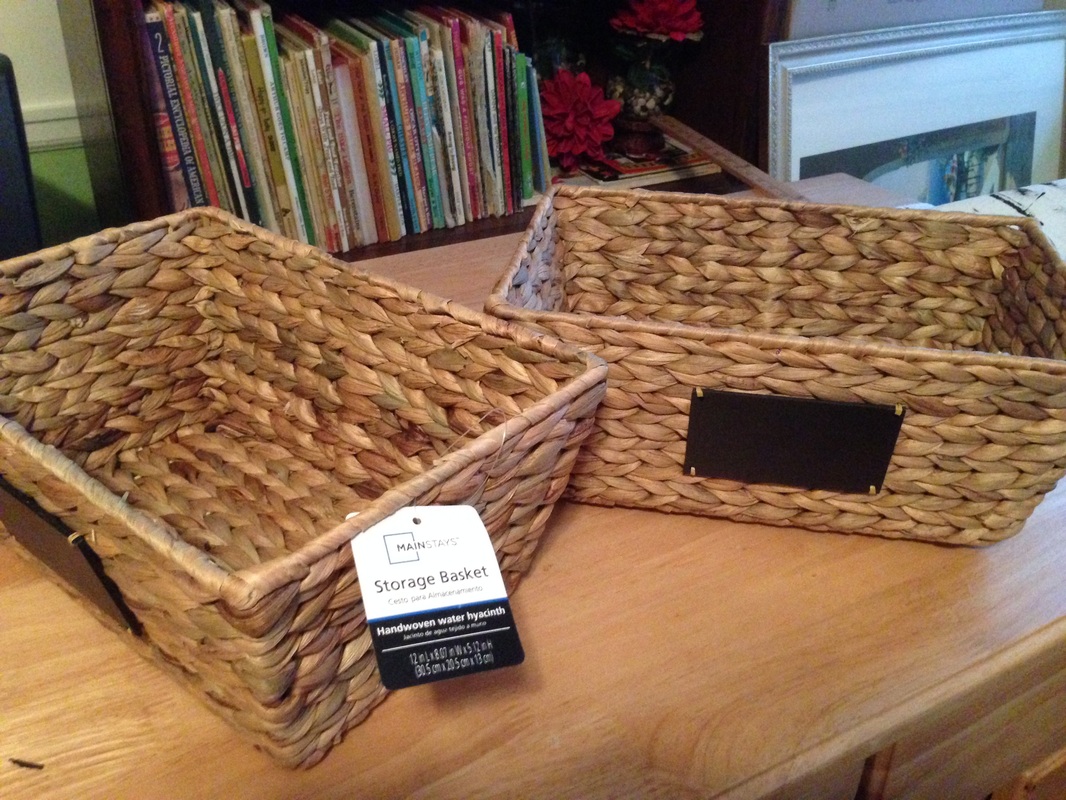
I bought the baskets at Walmart for $5 each.  They have a cute chalkboard tag, but I ended up turning them sideways to fit both on one shelf.

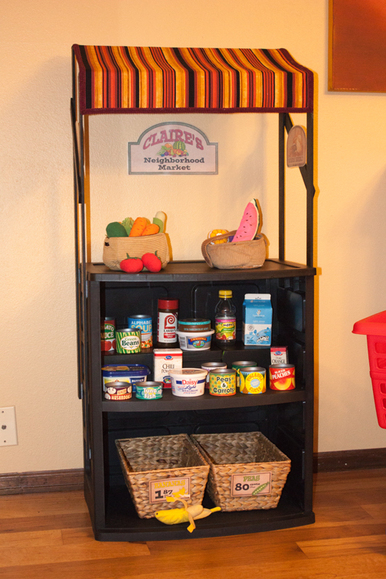
And that is how Claire's new market came to be!  It's all set up and waiting for her to discover it tomorrow morning!
Picture

And here is the big reveal :-)
3 Comments

Claire's Quiet Book

12/10/2014

0 Comments

 
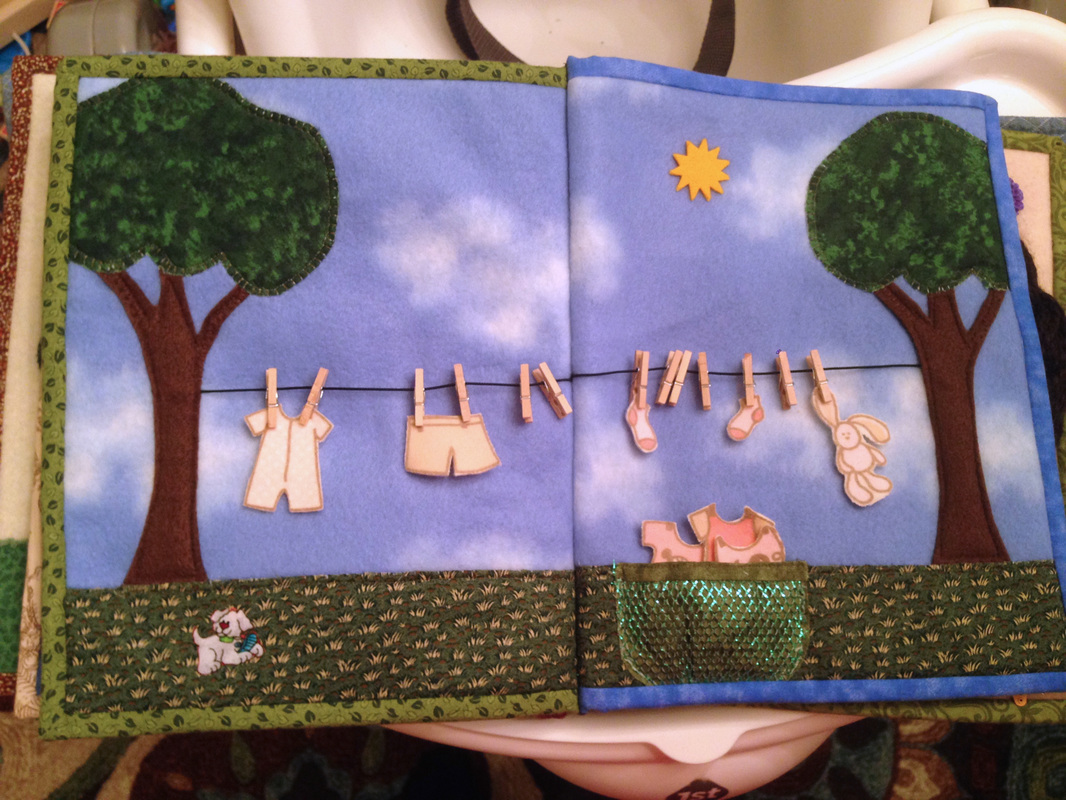
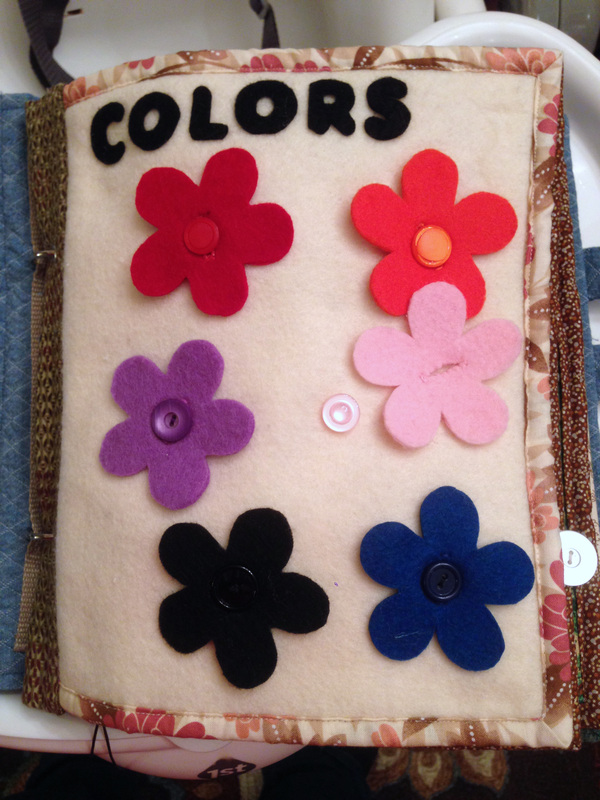
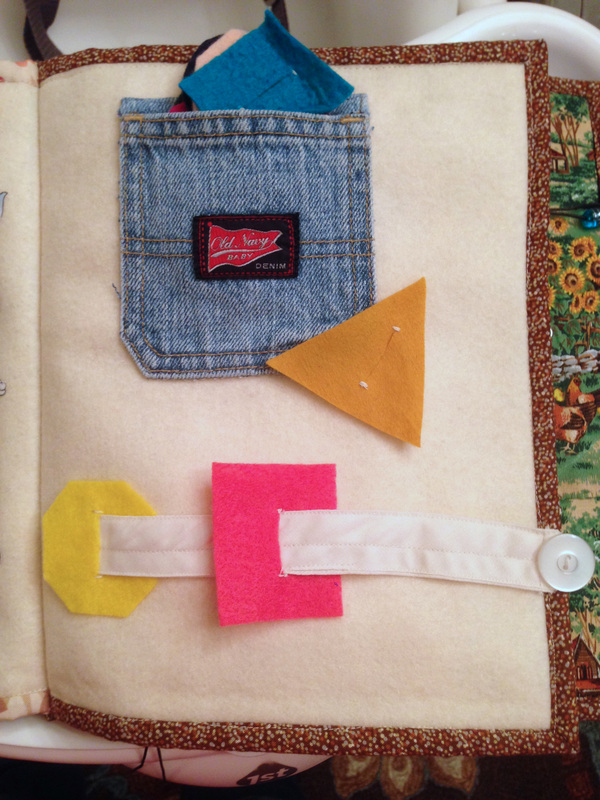
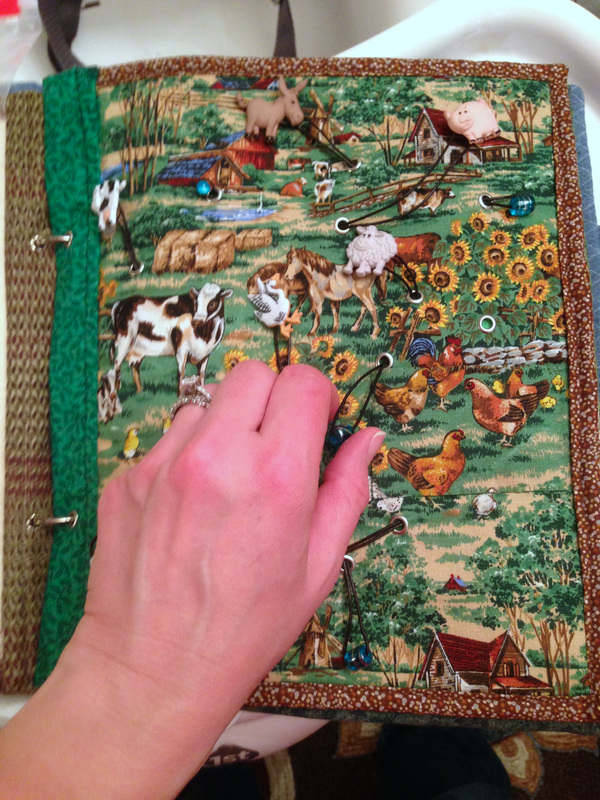
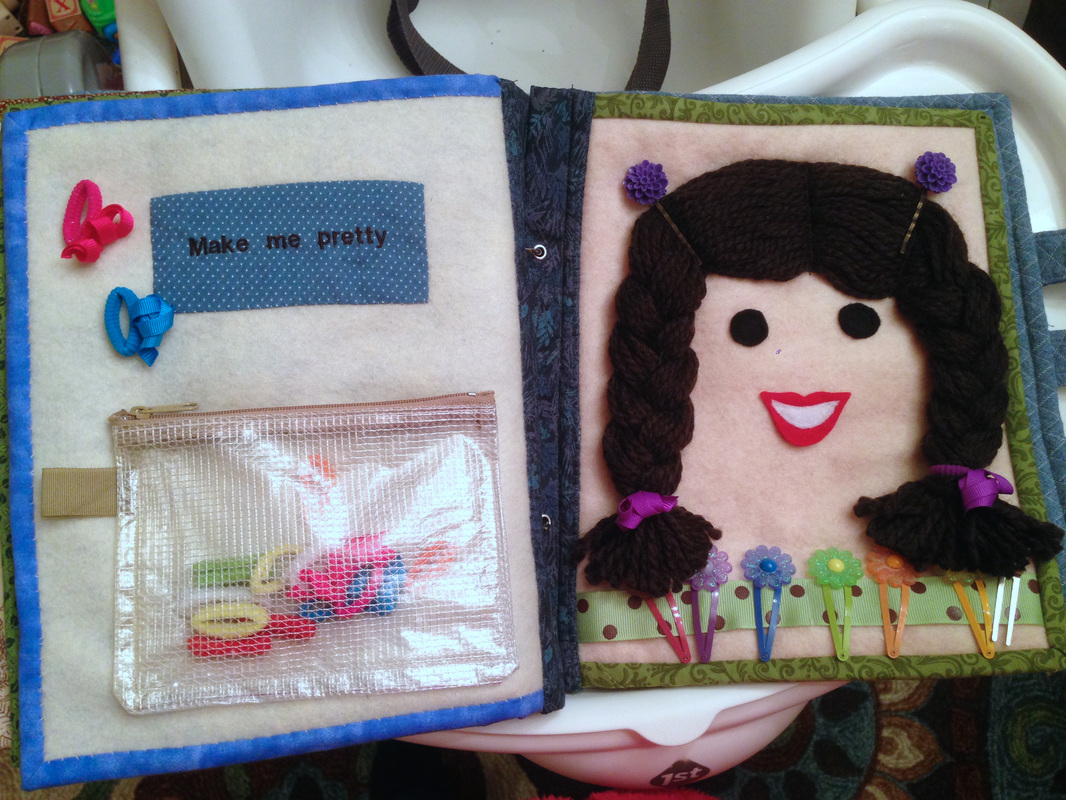
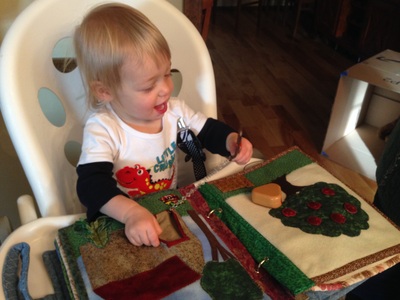
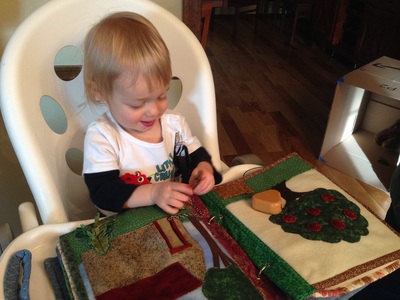
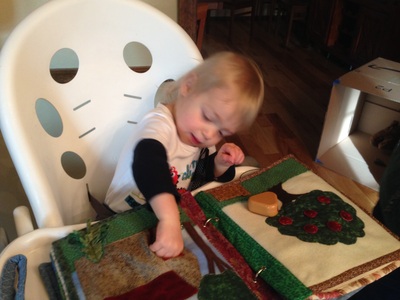
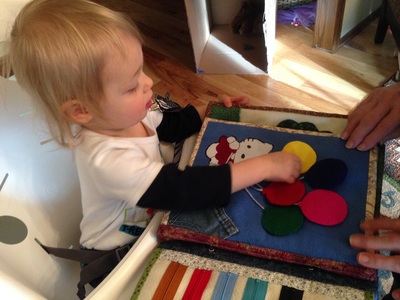
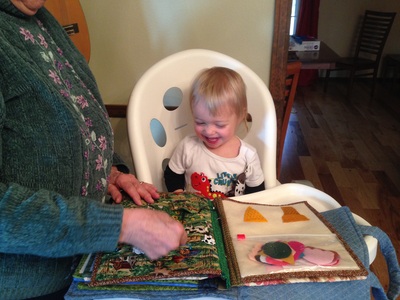
My mom made this amazing quiet book (also called a busy book) for Claire to play with while I'm trying to get a few things done around the house.  She's a little young for it right now, but the idea is that it would only be brought out when I need to keep her occupied while I'm making dinner or something like that.

She made all of the pages with her stash of fabrics, scraps from the senior center and things she found at the thrift store.  She did have to buy some of buttons and things for a couple bucks here and there.  Claire is so lucky to have such a talented Grandma!
Picture
Hang the clothes on the line or put them in the basket...
Picture
Buttons
Picture
Thread the shapes on the belt
Picture
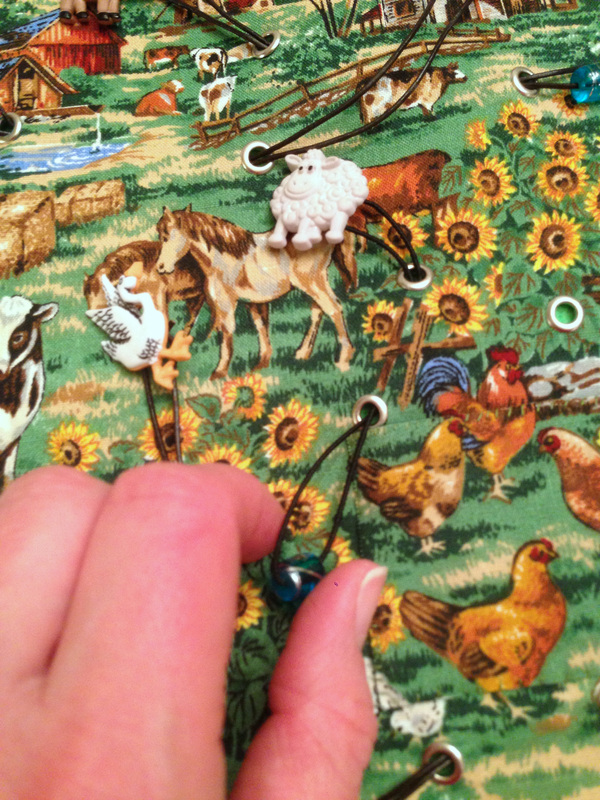
Pulling the strings moves the animals... some of them disappear into pockets...
Picture
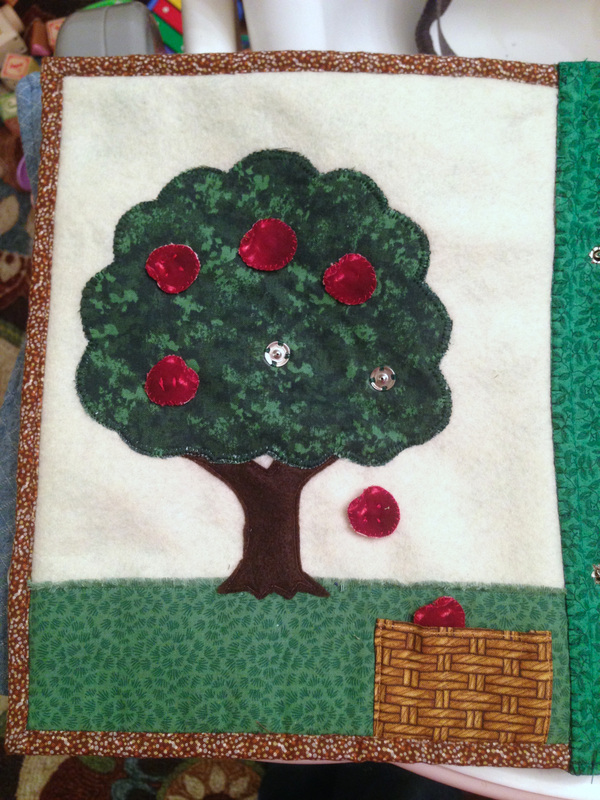
Snap the apples on the tree or put them in the basket
Picture
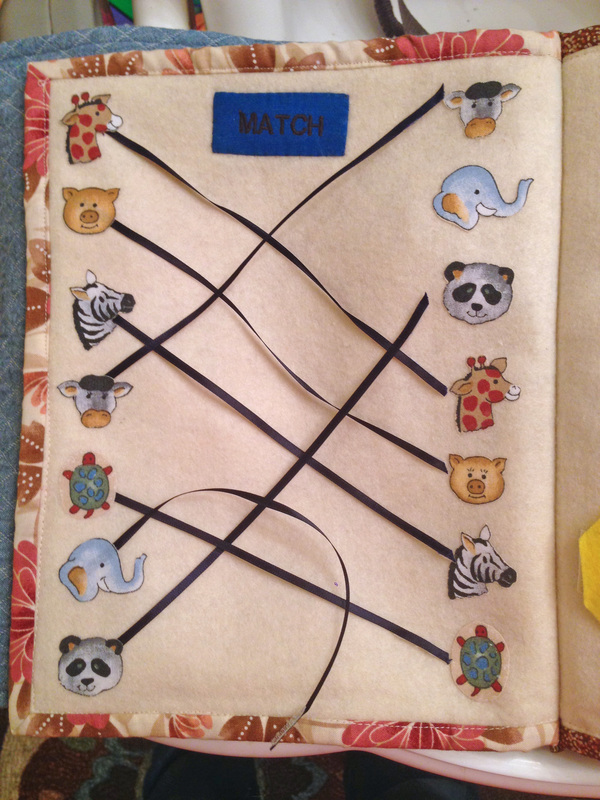
Matching
Picture
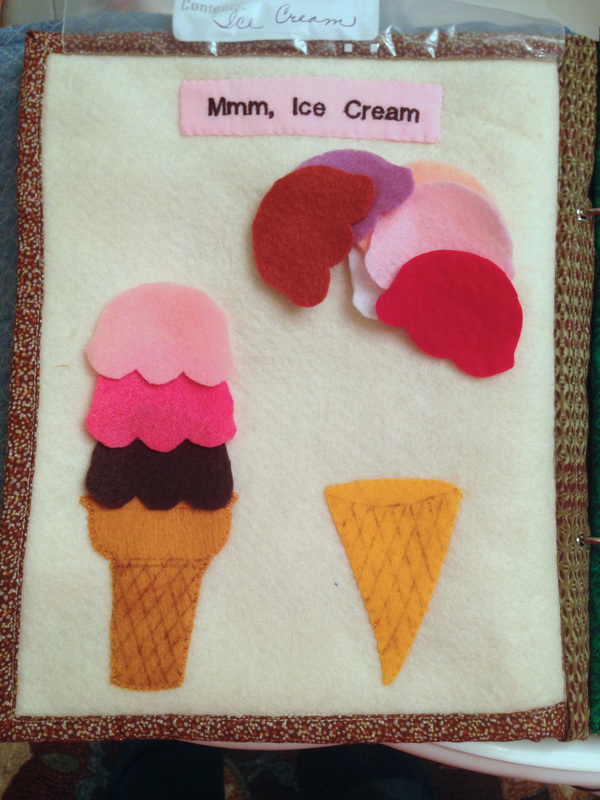
Build an ice cream cone
Picture
This is Claire's favorite page! -
Picture
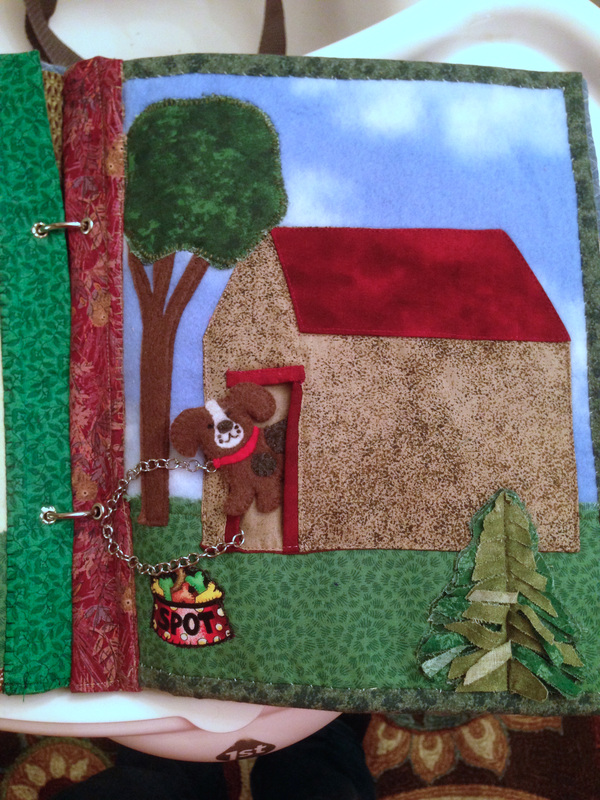
Put the dog in the dog house... Claire's other favorite!
Picture
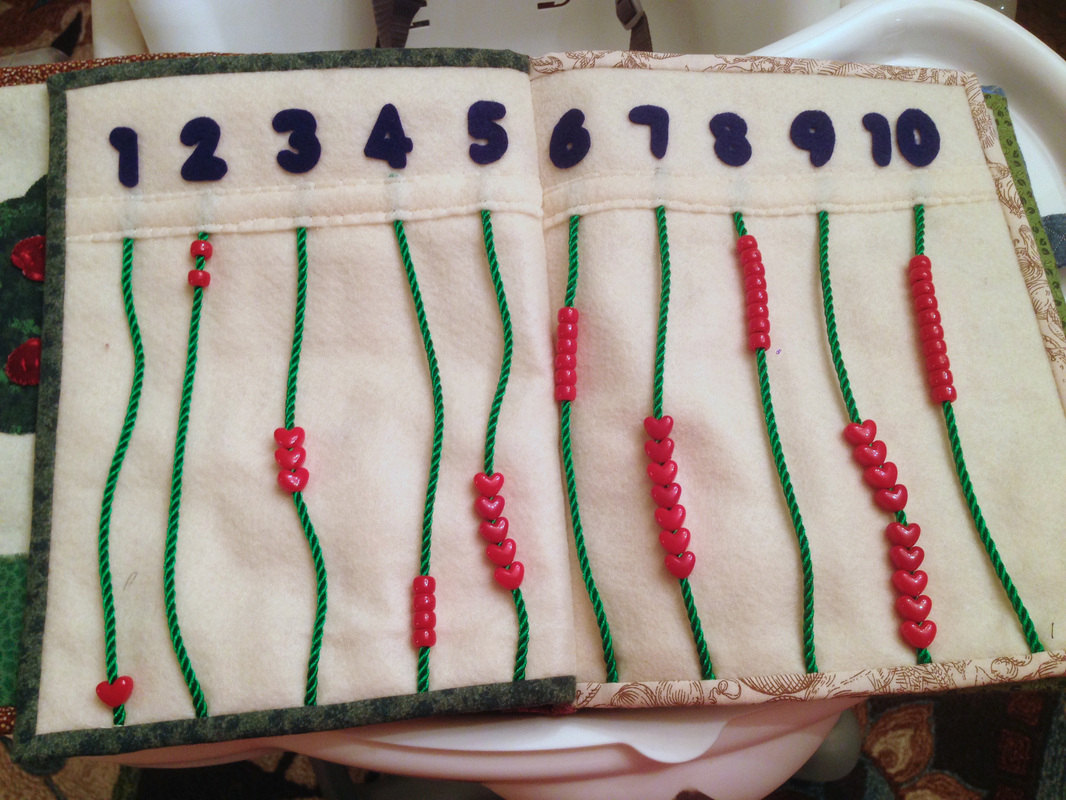
Counting
Picture
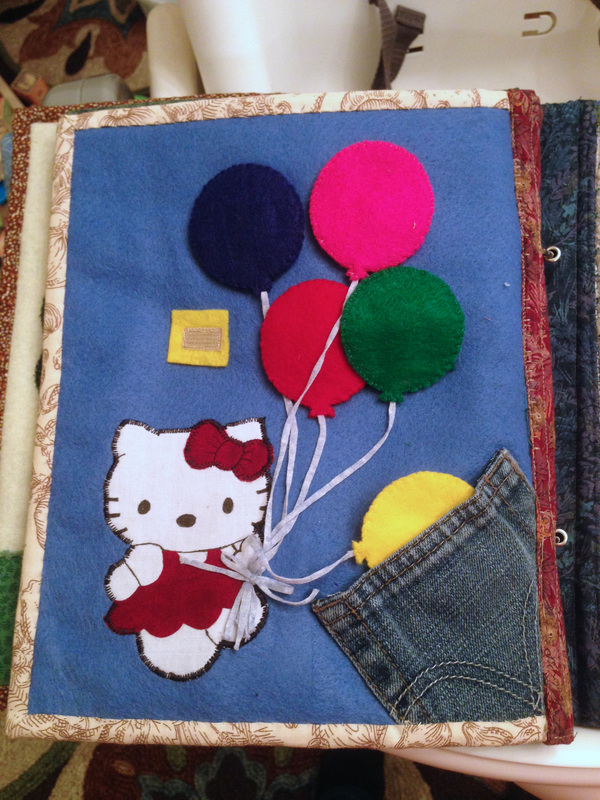
Velcro balloons go in the pocket
Picture
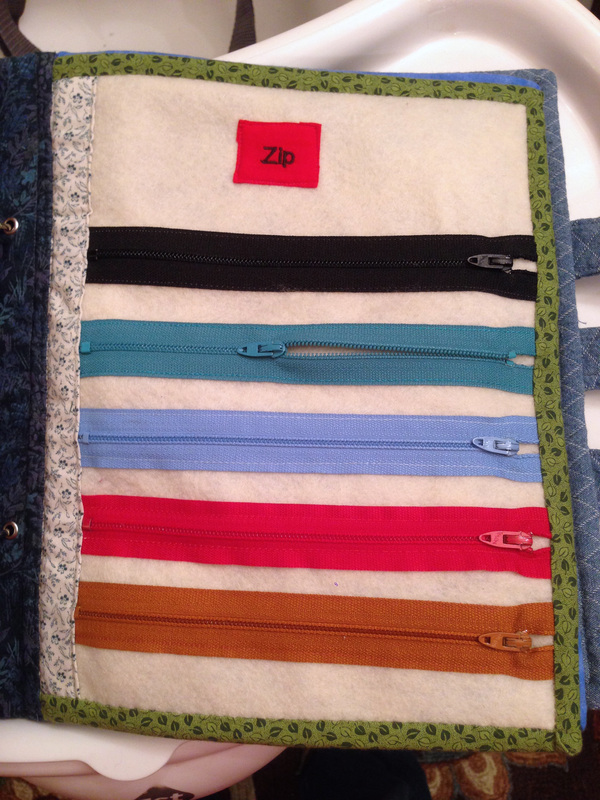
Zippers, 10 cents each at the thrift store
Picture
Hair ties and barrettes

Quiet Book not so quiet from Sashasmommy on Vimeo.

0 Comments

Peanut Butter Banana Quinoa Muffins

7/20/2014

2 Comments

 
Picture
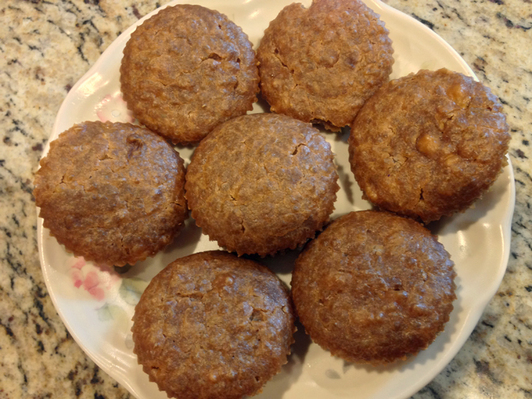
Peanut Butter Banana Quinoa Muffins
Trying to get Claire to eat protein has been a challenge.  She can't drink cows milk, and none of the milk alternatives have as much protein.  She likes eggs, but can't have them.  She wouldn't eat meat until just last week, though she is doing a lot better now (knock on wood).  For breakfast this morning, I gave her a banana dipped in Sunbutter (a peanut butter alternative made out of sunflower seeds), and she really likes it, so I decided to try these muffins in hopes of sending them to daycare for breakfast.

I made a ton of modifications for her various allergies, high altitude, and the fact that I didn't have any brown sugar (I can't believe I actually had molasses in my pantry!)  They actually turned out quite good, and they got the stamp of approval at lunch today when she bypassed the little pieces I broke off for her and grabbed the whole muffin out of my hand and tried to shove it in her mouth  :-)
http://www.thecurvycarrot.com/2013/03/27/peanut-butter-banana-quinoa-muffins/
2 Comments

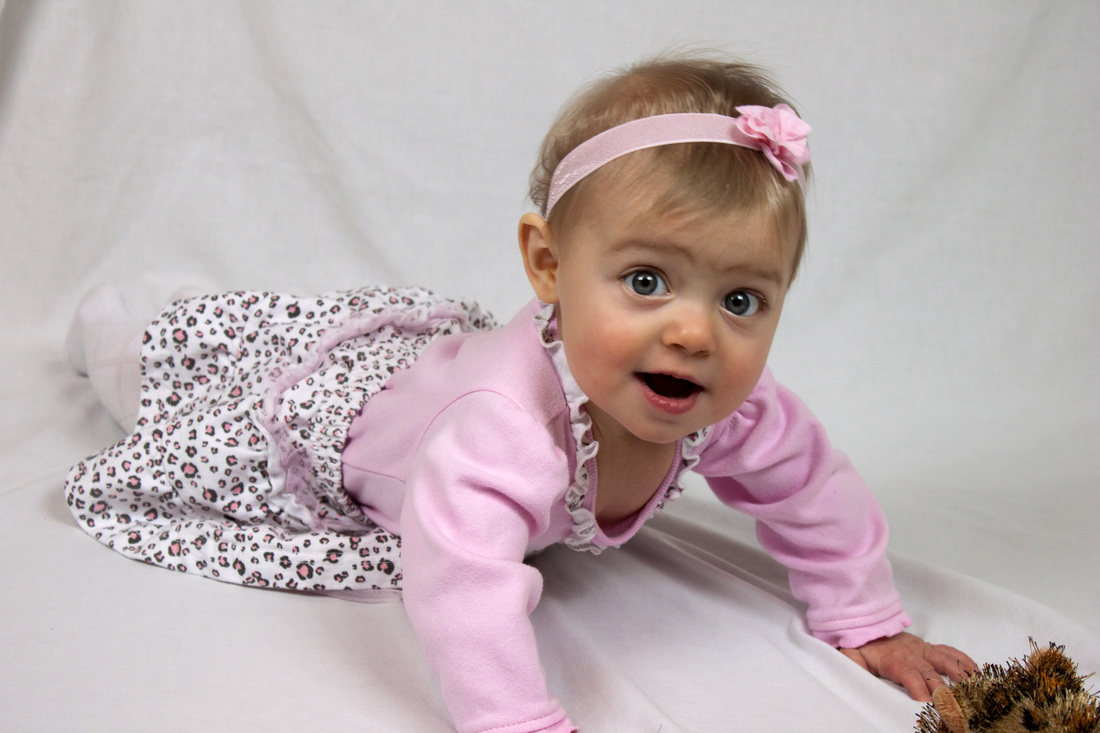
8 Month Photos

3/2/2014

0 Comments

 
Picture
Picture
Picture
0 Comments

Random Pictures - February 2014

3/1/2014

0 Comments

 
0 Comments

It's Alive!!

2/10/2014

0 Comments

 
My blog, that is.  Weebly will be happy to know that I'm posting something... (you seeing this, Weebly??)  Every month or so, they send me an email saying "Heyyyy, we see you haven't posted anything on your blog lately... have you seen all these cool new tools that can help you make your website the greatest thing ever?"

And then I send them this picture:
Picture
And they stop contacting me for a while, LOL.  (jk)

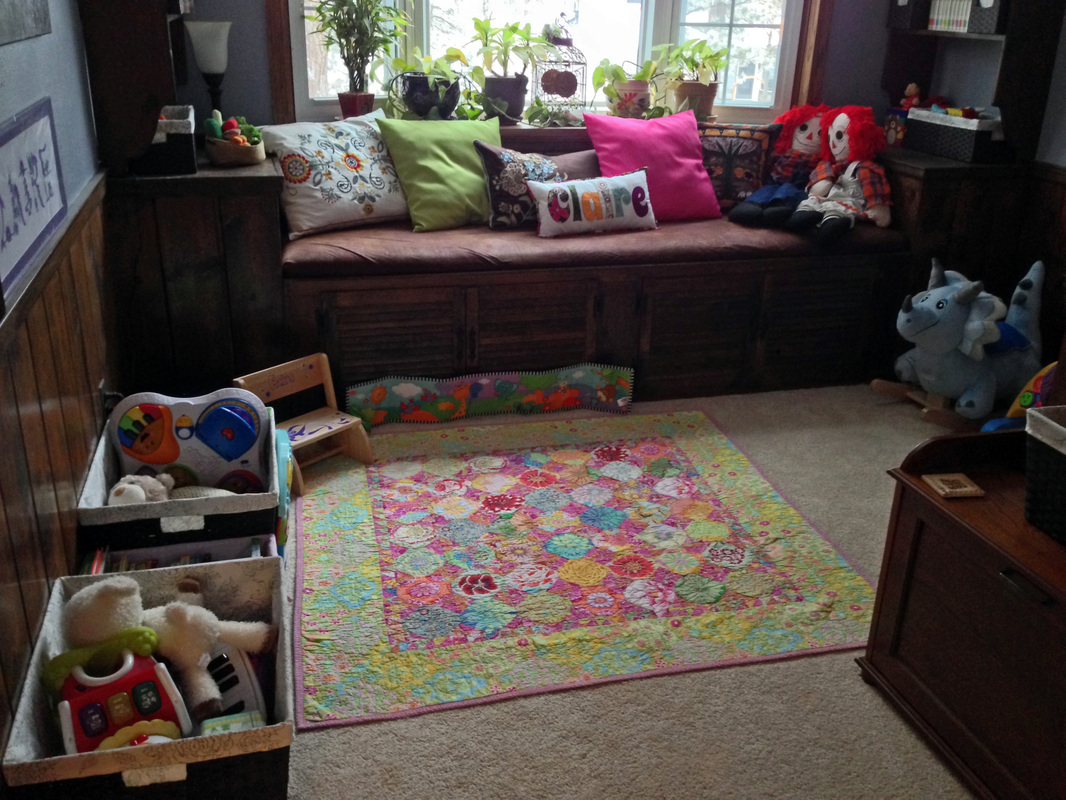
But anyway -- remember the reading nook from this post?
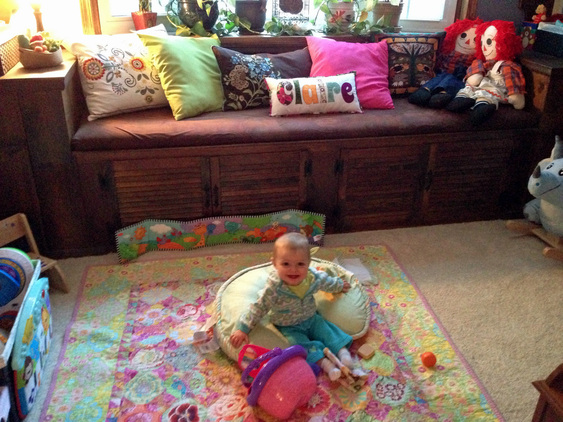
  We have turned it into Claire's play nook.  When she was just a young pup, all of her toys used to fit in a couple baskets, so we had a blanket on the floor in the main part of the room and just kept her stuff there.  But when she turned 6 months old, the toys got bigger (and more numerous).  The den became an obstacle course, so we had to move her to the nook. 

When we bought this house, I thought the nook would make a great play area.  The cabinets under the bench offer out-of-eyesight storage and it has two built-in sets of shelves for books.  Granted, the cabinets are falling apart and the inside of the bench gives me the heebeejeebees.  70's shag carpet, check.  40 years worth of dust, check.  Heating vent, check.  What??  Yeah, one of the two heating vents for this room is inside the bench.  Hence the louvered doors, but it still doesn't let the heat out.  So, I closed the vent for now, but I eventually want to get the whole thing rebuilt and re-route the heat to actually come out into the room.  (A novel concept, I know.  It was -16 here when I left for work the other day.)
Picture
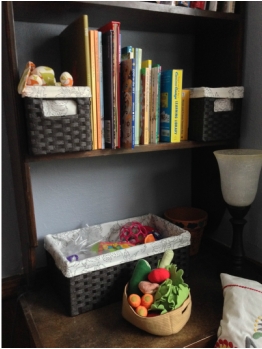
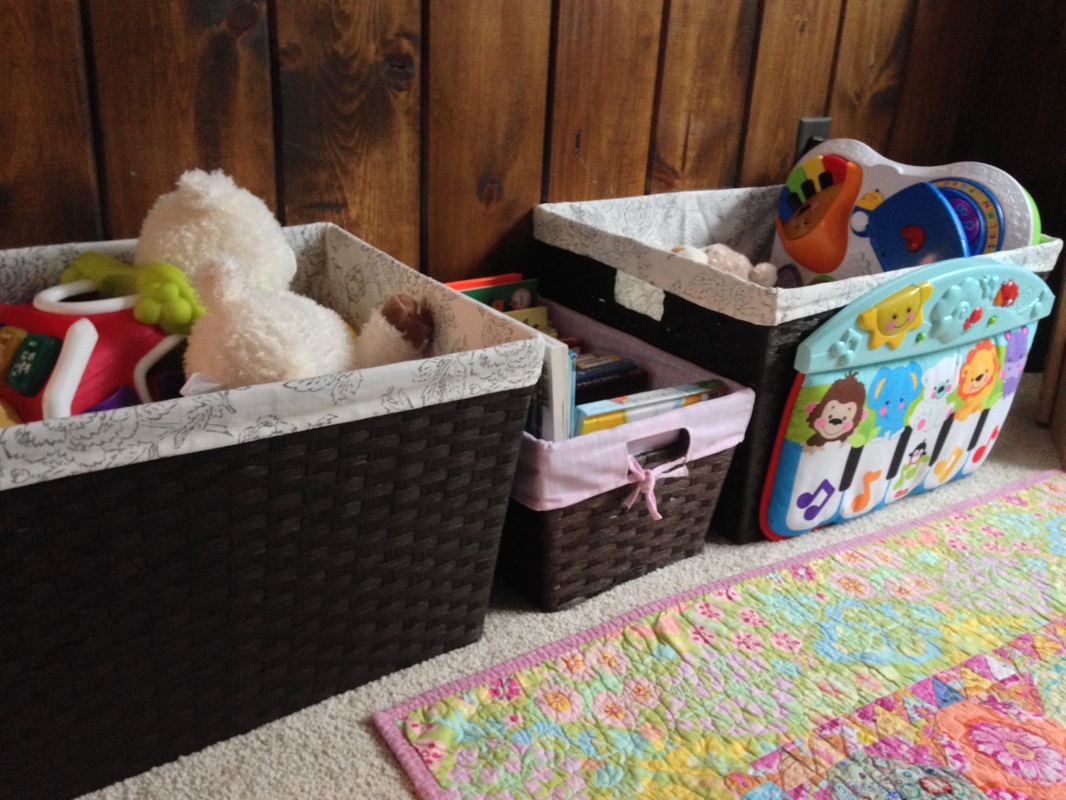
I went to Target and bought a bunch of baskets in different sizes.  Some sit on the floor to hold her bigger toys and books.  Some are under the bench behind the doors to hold toys she's not old enough for, blankets and other random stuff.  And smaller ones are on the shelves holding small toys and burp cloths.  Gonna have to figure something out for the shoe caddy on the right so she doesn't bash her head on it.
Picture
Books and toys
Picture
More books, more toys
Picture
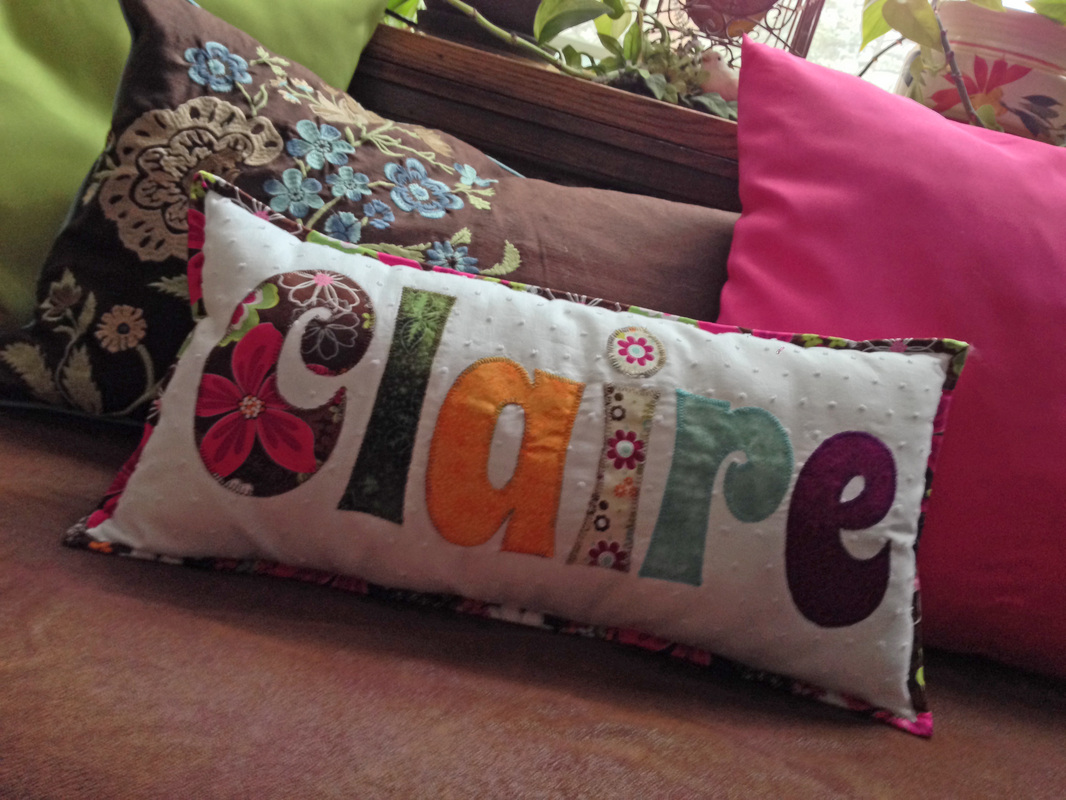
Slightly easier to read name pillow made by my mom, too cute!
Picture
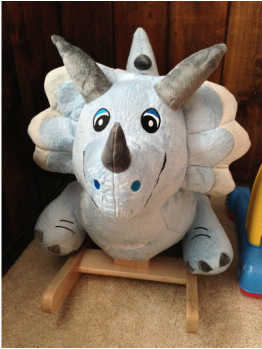
And her dinosaur rocker!
Picture
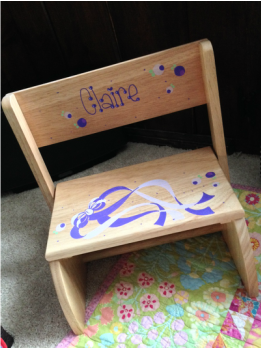
Her little chair (also turns into a bench)
Picture
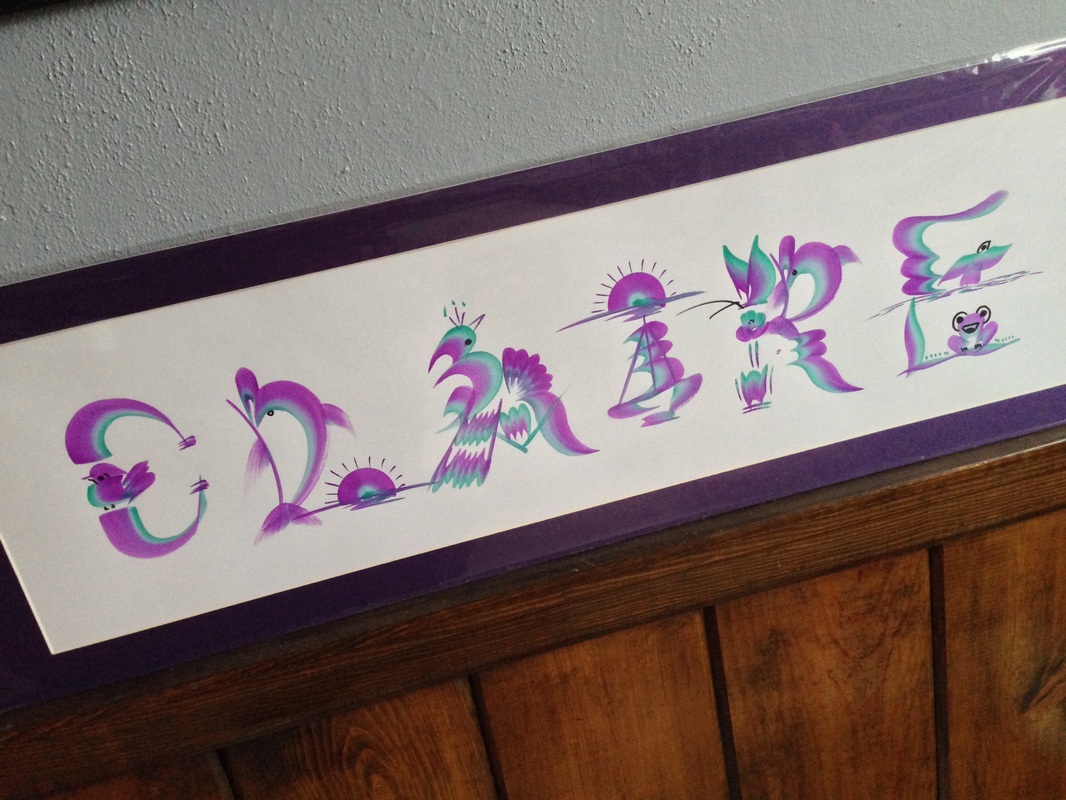
Crazy looking name art we bought at the Chinese New Year festival downtown
Picture
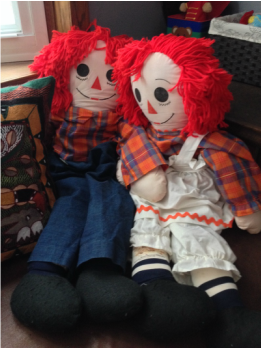
My Raggedy Ann and Andy from when I was little, made by my Aunt Sandy
Picture
And here's The Girl enjoying her new space...
0 Comments

Random Pictures - November 2013

12/9/2013

0 Comments

 
And some videos...

Carrots! from Sashasmommy on Vimeo.

Goin' to town on a clementine... from Sashasmommy on Vimeo.

0 Comments

Random Pictures - September 26, 2013

9/26/2013

1 Comment

 
The longer I procrastinate, the bigger the blog post is... imagine that.
Picture
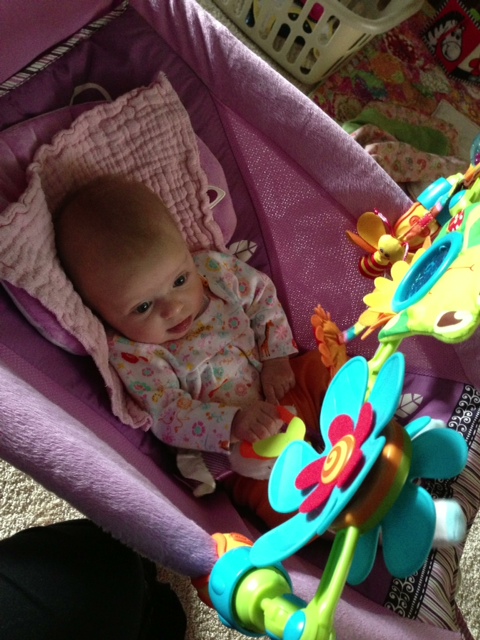
A whole new perspective on the world
Picture
Pretty in Pink
Picture
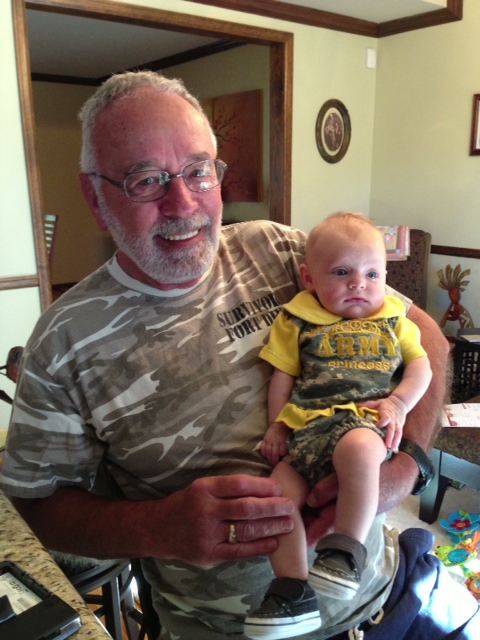
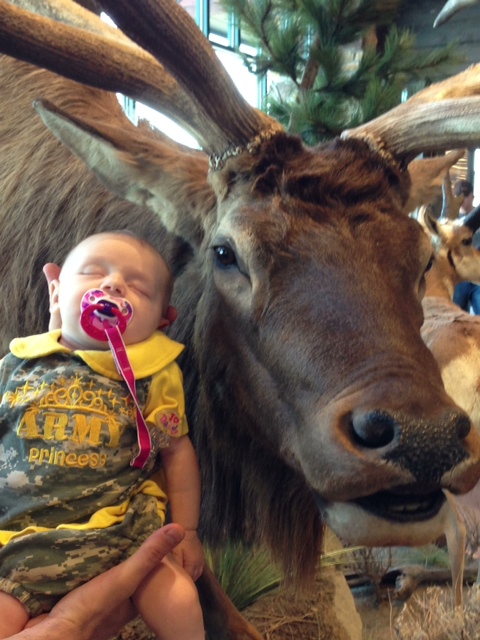
Claire and her recruiter
Picture
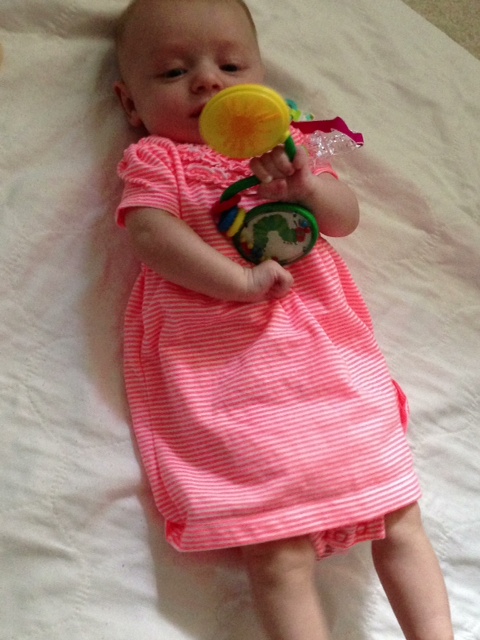
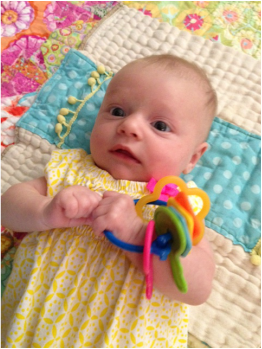
Discovering a new toy
Picture
Getting better at tummy time
Picture
Feeding time at the zoo...
Picture
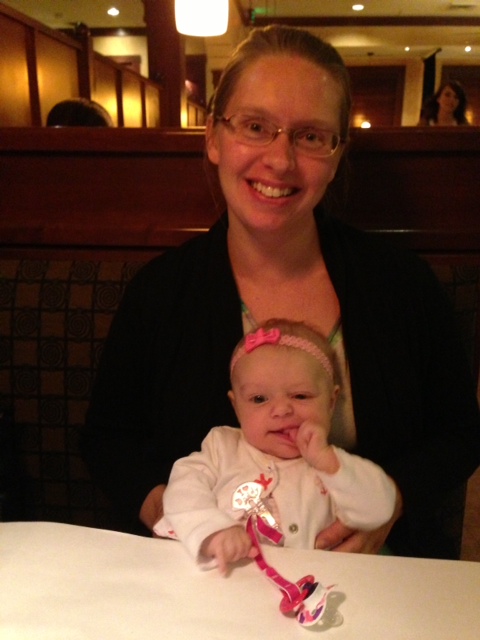
Excited about going out to dinner!
Picture
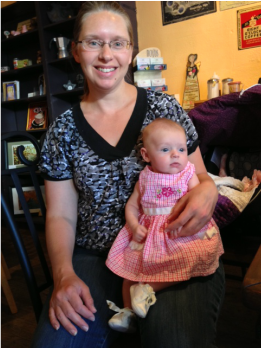
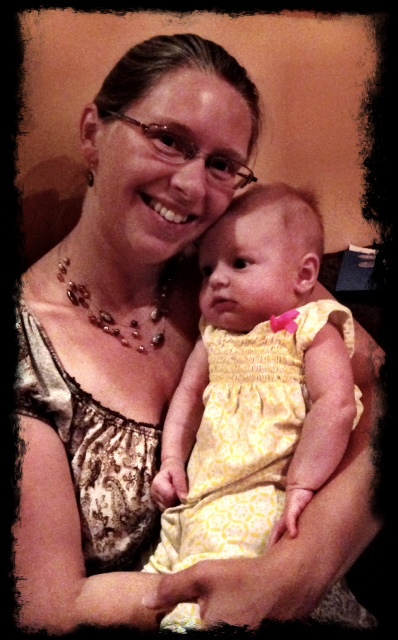
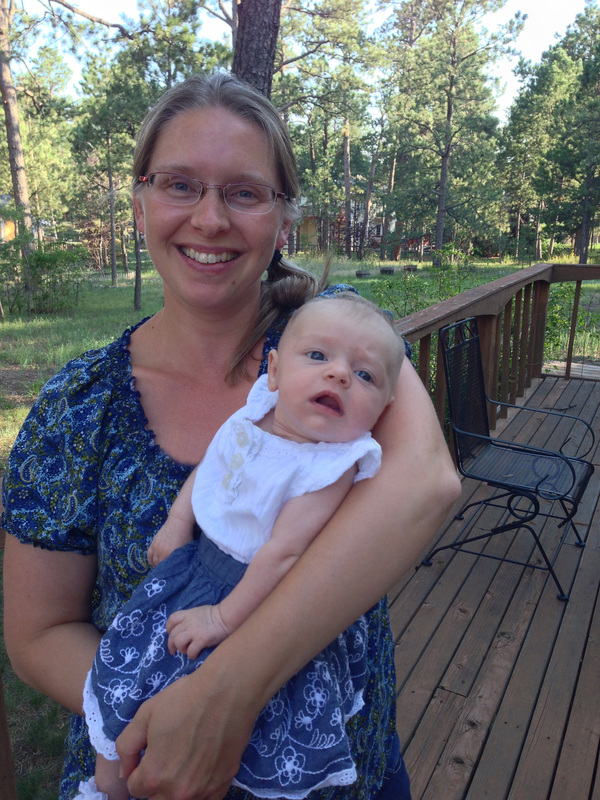
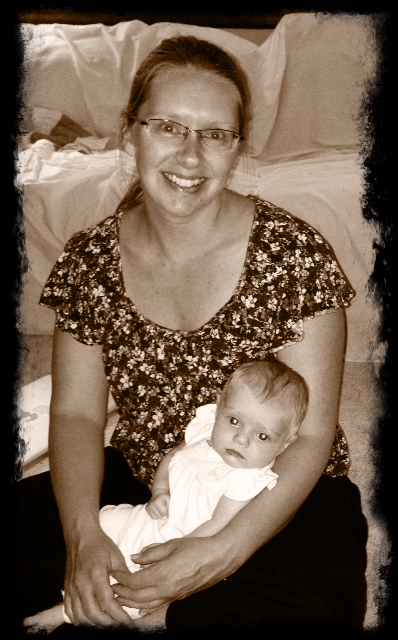
Me and my girl
Picture
How did her sock get up by her face?
Picture
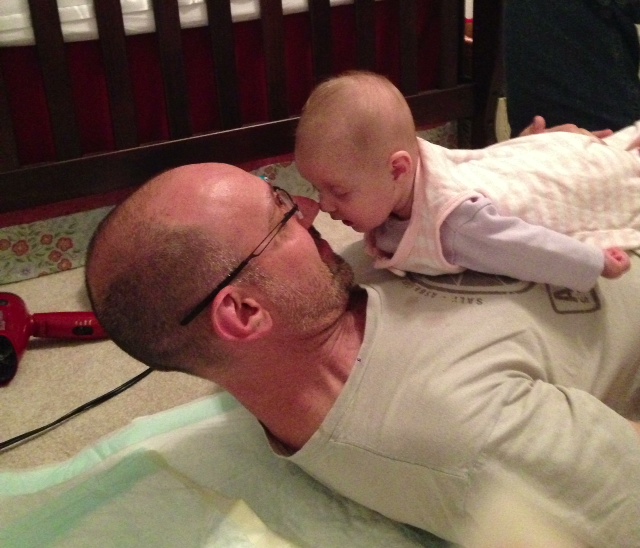
More tummy time with Daddy
Picture
Enjoying some jazz at Rico's
Picture
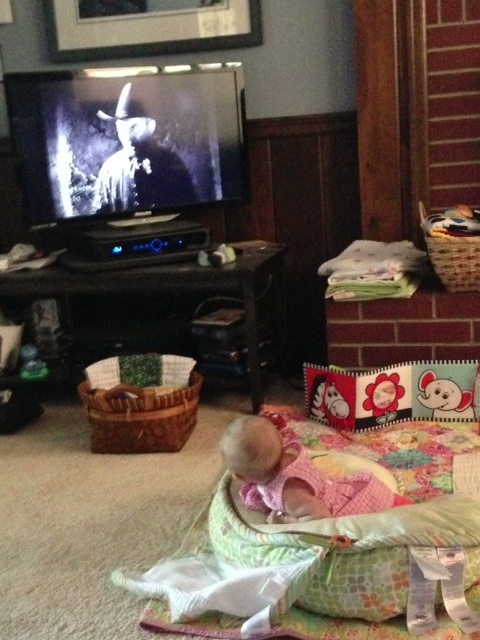
She likes old movies...
Picture
Somewhat uninterested.
Picture
Learnin' the ropes
Picture
Picture
Look who learned how to turn over
Picture
Girls' Day Out
Picture
Spinning the flower
Picture
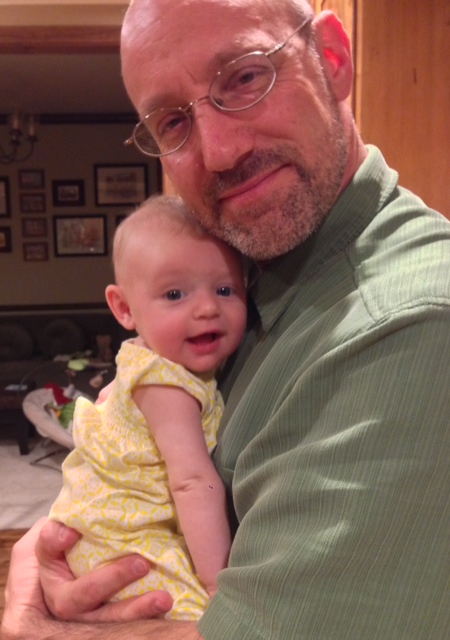
Daddy's Girl
Picture
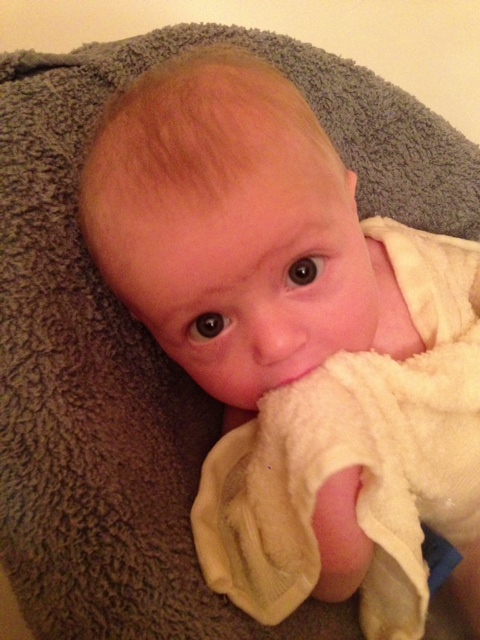
mmm... washcloth.
Picture
3 month photo shoot - Fail.

And some Video...

Claire and her newly discovered toy from Sashasmommy on Vimeo.


Another new toy from Sashasmommy on Vimeo.


The show must go on... from Sashasmommy on Vimeo.

Even in cold weather, Nakie Time must go on!

She likes her book from Sashasmommy on Vimeo.

No idea why this is upside down...

Nakie Time at the doctor's office! from Sashasmommy on Vimeo.

1 Comment

Random Pictures - September 5, 2013

9/5/2013

0 Comments

 
Picture
I'm so cute, I can't stand myself!
Picture
Daddy's wake up call - Fail.
Picture
Lookin pretty... (now if we could just get the pretty dress and the smile in the same picture...)
Picture
Hangin' with Mommy
Picture
Picture
Mom gave me the keys, but I can't find the car...
Picture
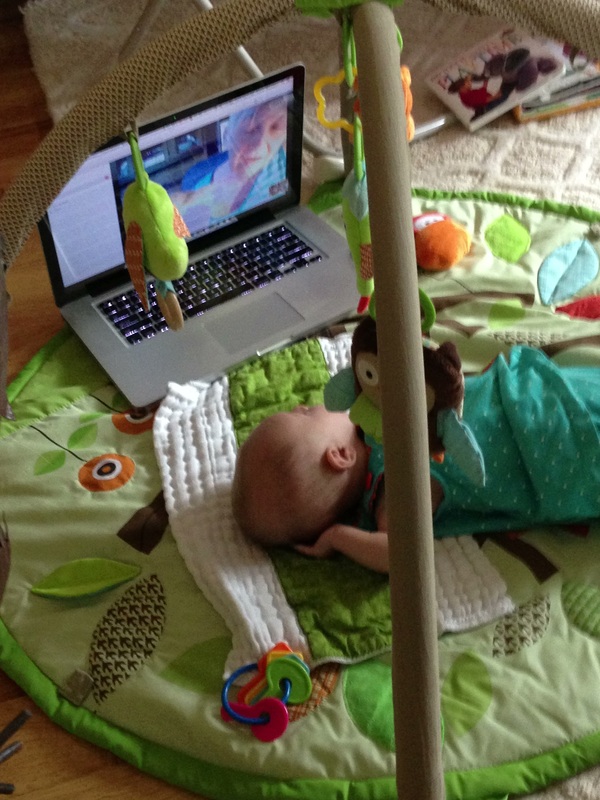
Skyping with Grandma
Picture
A calm moment in the storm that was post-2-month-shots.
Picture
Relaxin'
Picture
Hangin' with Daddy
Picture
*thbbbbt!*
Picture
Thankyouverymuch

And some Videos. . .

Batting Mr. Owl around... from Sashasmommy on Vimeo.

Tummy Talk 1 from Sashasmommy on Vimeo.

Tummy Talk 2 from Sashasmommy on Vimeo.

0 Comments

Random Pictures - August 22, 2013

8/22/2013

0 Comments

 
Picture
Picture
Hi there!
Picture
Restaurants are overwhelming.
Picture
Hangin' with Aunt Angie
Picture
Family Portrait
Picture
Happy Screech!
Picture
And this is what I think about that!
Picture
You know you're small when you can use a burp cloth as a blanket and it's still too big.
Picture
Tummy Time!

And some video...

Claire Coos for the Camera from Sashasmommy on Vimeo.

Tummy Time! from Sashasmommy on Vimeo.

0 Comments
<<Previous

    Archives

    May 2019
    April 2019
    March 2017
    July 2016
    June 2016
    May 2016
    March 2016
    November 2015
    July 2015
    May 2015
    April 2015
    March 2015
    February 2015
    January 2015
    December 2014
    August 2014
    July 2014
    March 2014
    February 2014
    January 2014
    December 2013
    September 2013
    August 2013
    July 2013
    June 2013
    May 2013
    April 2013
    March 2013
    February 2013
    December 2012
    November 2012

    Categories

    All
    Baby On Board
    Baby On Board
    Crafts
    Decorated Cookies
    Food Appetizers
    Food Desserts
    Food Main Dishes
    Kids
    Scrapbooking

    Picture
    Check out the cool stuff I've been Pinning lately...
    Contact Me!

    Enter your email address:

    Delivered by FeedBurner

    RSS Feed

Powered by Create your own unique website with customizable templates.